Practical comparison of industrial floor coatings
PU‑cement vs epoxy: where epoxy “dies” and why PU‑cement costs more but can be more cost‑effective
We break down temperature, steam/washdown, chemistry, impact loads, service life, and total cost of ownership (TCO). If your facility has hot water, steam, fats, and aggressive chemicals, “cheaper per m²” often turns into “more expensive per year”.
Critical factor #1
Thermal shock and hot washdown
Critical factor #2
Chemicals + temperature
Critical factor #3
Impacts/chips and repairability
Images help illustrate the logic. Final system selection still depends on your actual site conditions.
Epoxy 2–3 mm
A great choice for dry areas with moderate loads and no hot washdown/steam. But with thermal shock and constant moisture, the risk of blistering and debonding goes up.
PU‑cement 6–9 mm
A “workhorse” for wet and hot zones: steam, washdown, fats, disinfection, thermal shock, and impacts. Higher upfront cost—often lower cost in downtime and repairs.
Key takeaway
Compare not the “price per m²”, but total cost of ownership: repairs, production stoppages, hygiene risks, and service life.
Important: below are practical guidelines. The correct system always depends on the substrate (concrete/screed), moisture, cleaning regime, chemistry, temperatures, and the installation schedule. If you are unsure, it is better to describe the conditions once and get a technically correct recommendation.
Where epoxy “dies”: 4 typical scenarios
1) Hot washdown + thermal shock
The surface regularly gets hot water/steam and then cools down quickly. On epoxy, this accelerates microcracking, loss of adhesion, and blistering.
2) Constant moisture and vapor from the substrate
Moisture rises from concrete (often due to missing or weak waterproofing), and the coating works like a “lid”. The result is blisters and debonding, especially in warm production areas.
3) Aggressive chemistry at elevated temperature
What is acceptable “cold” can become a problem in a hot zone: concentration, temperature, and contact time amplify degradation.
4) Impacts, carts, dropped metal
Thin 2–3 mm systems can chip at defect edges and around joints. The more impact you have, the more thickness and toughness matter.
Temperature: why “just warm water” is already a risk
Epoxy floors perform very well in most “dry” industrial spaces. But they have a vulnerability: during heat/cool cycles, different materials (concrete and polymer) expand differently. When those cycles repeat daily, fatigue accumulates and the risks of cracking and debonding increase.
Rule of thumb: if an area regularly sees hot water/steam and then cools quickly, specify a system designed for thermal shock (often PU‑cement).
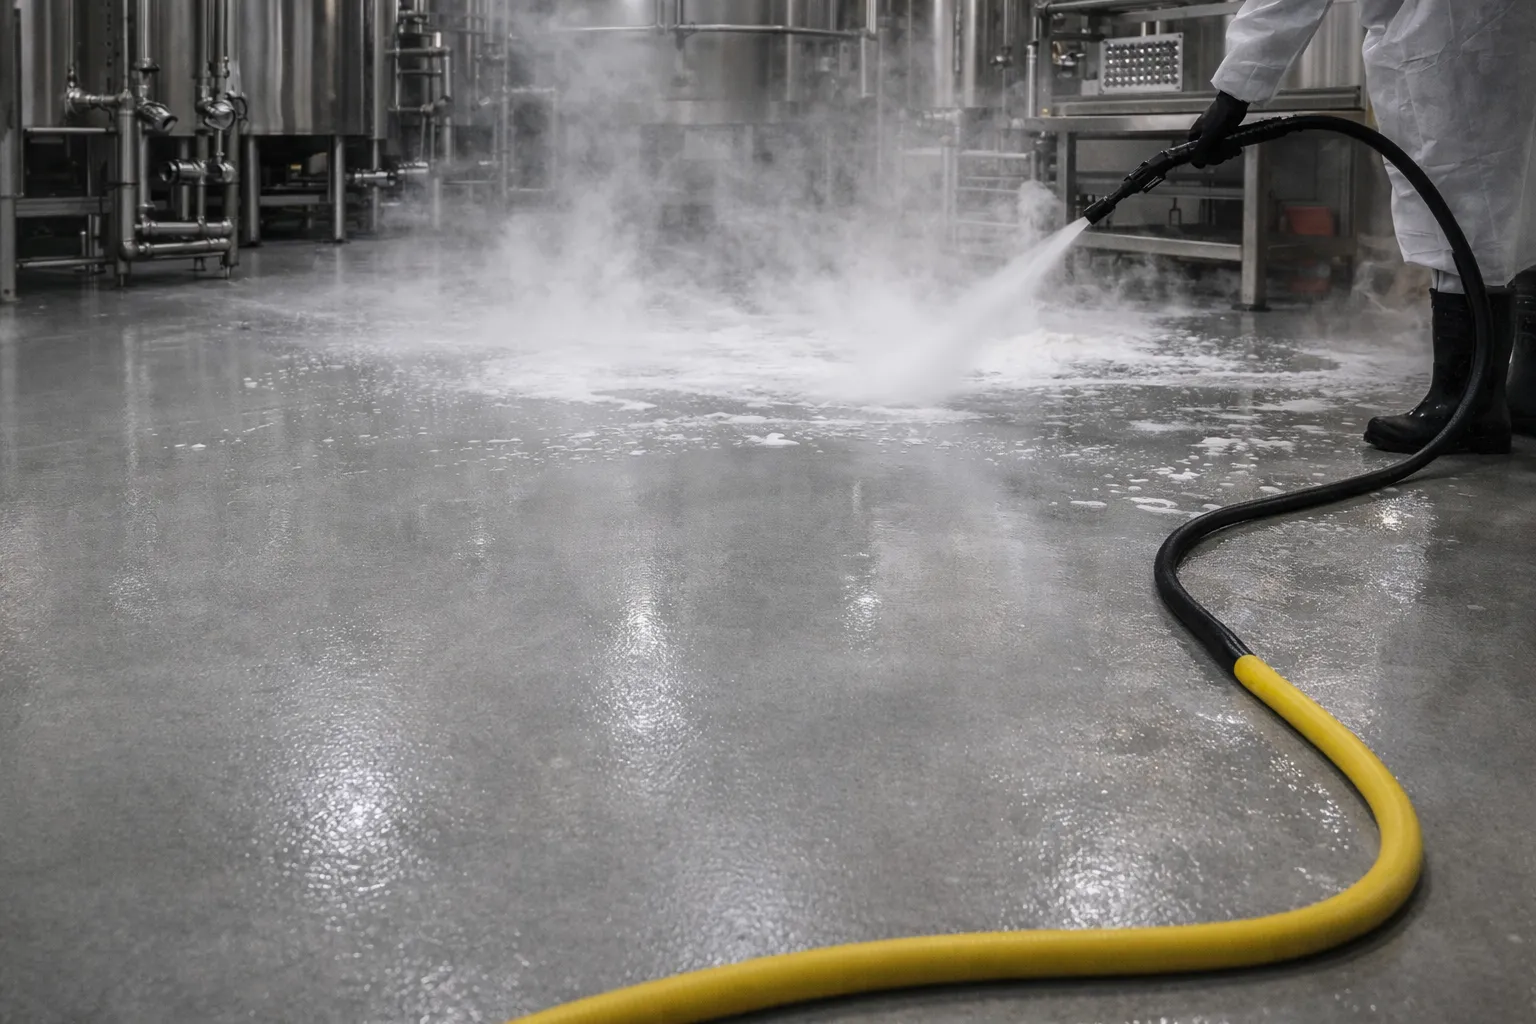
Steam, washdown, and hot wash: how epoxy quickly gives up
In food, pharma, and some chemical facilities, cleaning is not “once a week”—it is a daily process step. In that regime, epoxy’s main enemy is the combination of moisture, temperature, and water pressure.
What usually happens in real life
- Microcracks and pores let moisture migrate under the coating.
- Hot wash accelerates aging and reduces adhesion in “weak” spots (joints, terminations, repair patches).
- Then you see blisters, local debonding, and chips.
- Repairs become routine: “patched—then it fails again”.
PU‑cement systems are designed specifically for wet/hot zones and generally handle washdown regimes much better.
Chemistry: it is not just “acid/alkali”—temperature and contact time matter
On paper, many coatings are “chemically resistant”. In practice, three parameters decide the outcome: concentration, temperature, and contact time (plus mechanical abrasion during cleaning).
Epoxy (2–3 mm)
- Great for “dry chemistry” and moderate temperatures.
- Sensitive to frequent hot wash and thermal shock.
- In wet environments, the substrate and details must be executed flawlessly.
PU‑cement (6–9 mm)
- Strong side: hot zones, fats, frequent washdown, aggressive media.
- Thickness and toughness reduce the risk of chips and local failures.
- Typically handles daily sanitation and washdown better.
If your real scenario is “spill + hot water + alkaline/acid cleaner + brushes”, PU‑cement often wins because it survives the combination, not a single parameter.
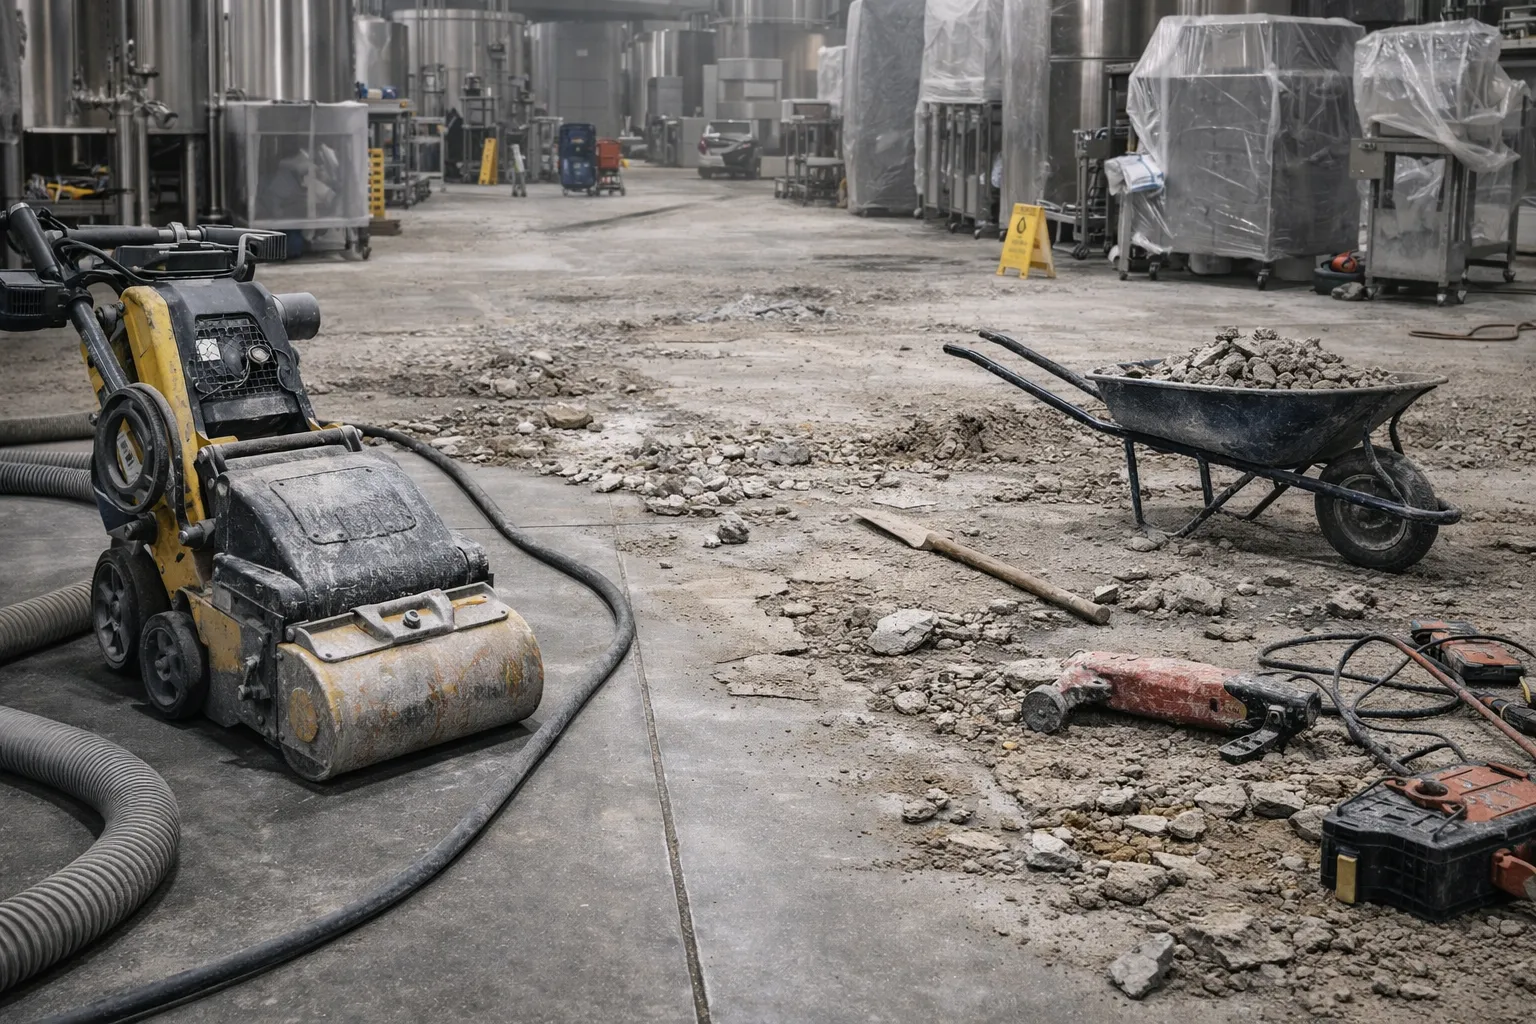
Impact loads: why thickness matters more than “strength on paper”
In facilities with carts, pallets, forklifts, and occasional dropped metal, what matters is not only “strength”, but how the coating distributes impact, how tough it is, and how it can be repaired. A thin 2–3 mm epoxy system can chip locally at edges and around joints—especially if the concrete underneath is not ideal.
Quick checklist for a production area
- Do metal parts or tools get dropped?
- Are there point impacts and vibration near equipment?
- Do carts and forklifts often turn in place?
- Do areas near gates, ramps, and docks see impacts and temperature swings?
If most answers are “yes”, a 6–9 mm PU‑cement system typically delivers fewer issues in real operation.
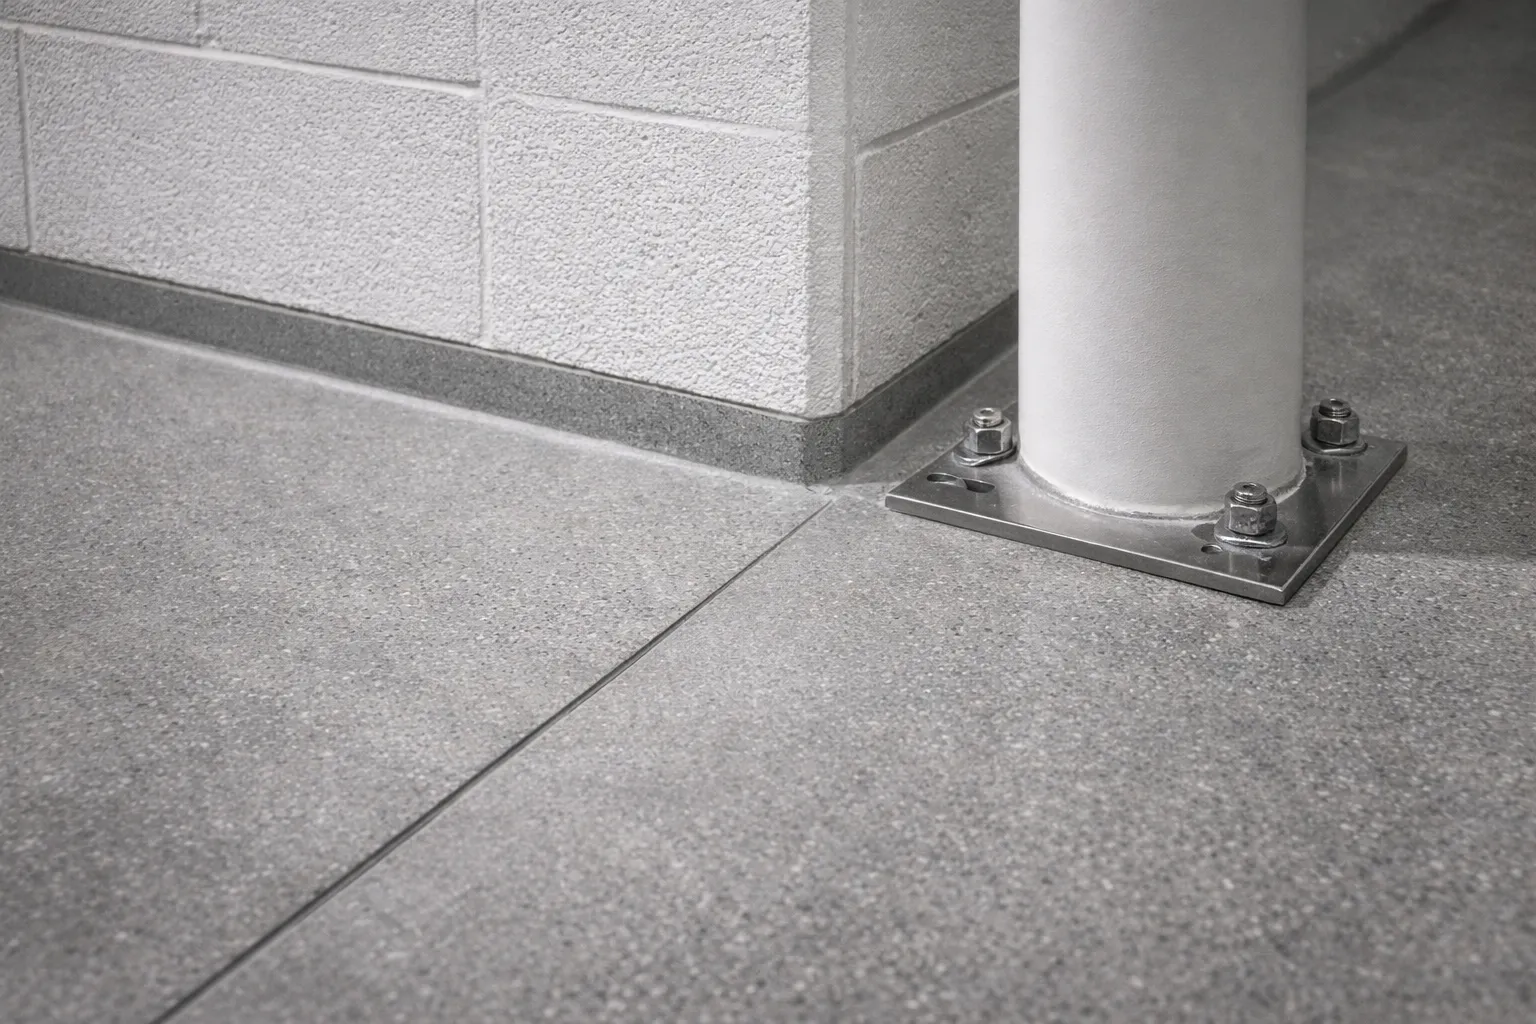
Moisture and vapor from concrete: blisters are not cosmetic
Blisters almost always mean there is a pressure source under the coating: moisture or dissolved gases. On epoxy (especially in warm production areas), this can quickly progress from an aesthetic issue to debonding. That is why wet substrates require inspection, proper preparation, and a system that can tolerate demanding operating conditions.
Why PU‑cement costs more (and what you pay for)
The price difference is not “marketing”, but a different technology class: material, thickness, installation requirements, and quality control. In exchange, you get a coating designed for what most often kills epoxy in real facilities.
Material + thickness
- 6–9 mm instead of 2–3 mm—more “reserve” and longer service life.
- Better resistance to thermal shock and washdown.
- Lower risk of chipping through to the concrete.
Installation + control
- More demanding on substrate preparation and details (terminations, drains, joints).
- Application conditions, climate, and logistics matter.
- Higher upfront cost—but often lower lifecycle cost.
Service life and total cost of ownership: how to calculate like an adult
When a floor is selected only by “price per m²”, two things are usually ignored: the cost of stopping production and how often you will need repairs. In hot/wet zones, those costs can easily exceed the difference in material price.
A simplified TCO formula
TCO per year = (installation + repairs/patches + downtime/losses + sanitation risks) / service life
Meaning: even if PU‑cement is more expensive upfront, it can pay back if it reduces repairs and downtime.
A simple scenario (illustrative)
Epoxy 2–3 mm
- Lower initial budget.
- In washdown zones, regular spot repairs are possible.
- Downtime and hygiene risks can “eat” the savings.
PU‑cement 6–9 mm
- Higher initial budget.
- Better protected against thermal shock/moisture/impacts.
- Typically fewer repairs and easier operation.
Important: exact numbers depend on your conditions. But if you have hot washdown and downtime is expensive, PU‑cement often wins on TCO.
How to choose between epoxy 2–3 mm and PU‑cement 6–9 mm
Below is a quick guide. If you recognize your scenario, go to the system pages—this is where parameters and the “recipe” are described in more detail.
| Operating condition | Epoxy 2–3 mm | PU‑cement 6–9 mm |
|---|---|---|
| Dry zones, moderate load | ✅ Excellent | ✅ Possible, but often overkill |
| Hot wash / steam / thermal shock | ⚠️ Risk (depends on the regime) | ✅ Preferred |
| Constant moisture, drains, frequent washdown | ⚠️ Requires perfect preparation | ✅ More stable |
| Impacts, dropped metal, heavy handling | ⚠️ Chipping is possible | ✅ Handles it better |
| Downtime and repairs must be minimized | ⚠️ Not always | ✅ Often the best choice |
Go to the system
Epoxy 2–3 mm (R10–R11)
For dry and moderately loaded zones: warehouses, production areas without hot washdown, corridors, etc.
View system →
Go to the system
PU‑cement 6–9 mm (thermal shock, R11–R13)
For wet, hot, and impact zones: washdown, steam, fats, aggressive chemistry, heavier loads, and demanding operation.
View system →
FAQ
Can epoxy be “reinforced” on top?
Sometimes yes (for example, by changing the build‑up or adding a protective topcoat), but that does not turn epoxy into PU‑cement. If the primary risks are thermal shock and washdown, it is often smarter to specify the correct system from the start.
Why do blisters appear on epoxy?
Most common causes are moisture/vapor from the substrate, insufficient preparation, priming mistakes, and temperature swings. It is a sign that the operating regime does not match the system’s capabilities.
Is PU‑cement always better?
No. In dry zones without hot washdown and without harsh chemistry, epoxy is often more economical and looks great. PU‑cement is needed where real operation quickly destroys thin polymer systems.
What do you need for an accurate recommendation?
Area type, cleaning regime (temperature/frequency/chemicals), substrate moisture, loads (equipment/impacts), slip‑resistance requirements, and the commissioning timeline. This takes 3–5 minutes—and can save months of trouble.
Need a fast, no‑nonsense recommendation?
Describe the conditions (temperatures, cleaning, chemistry, loads)—and we will propose 1–2 workable systems with clear selection logic.