
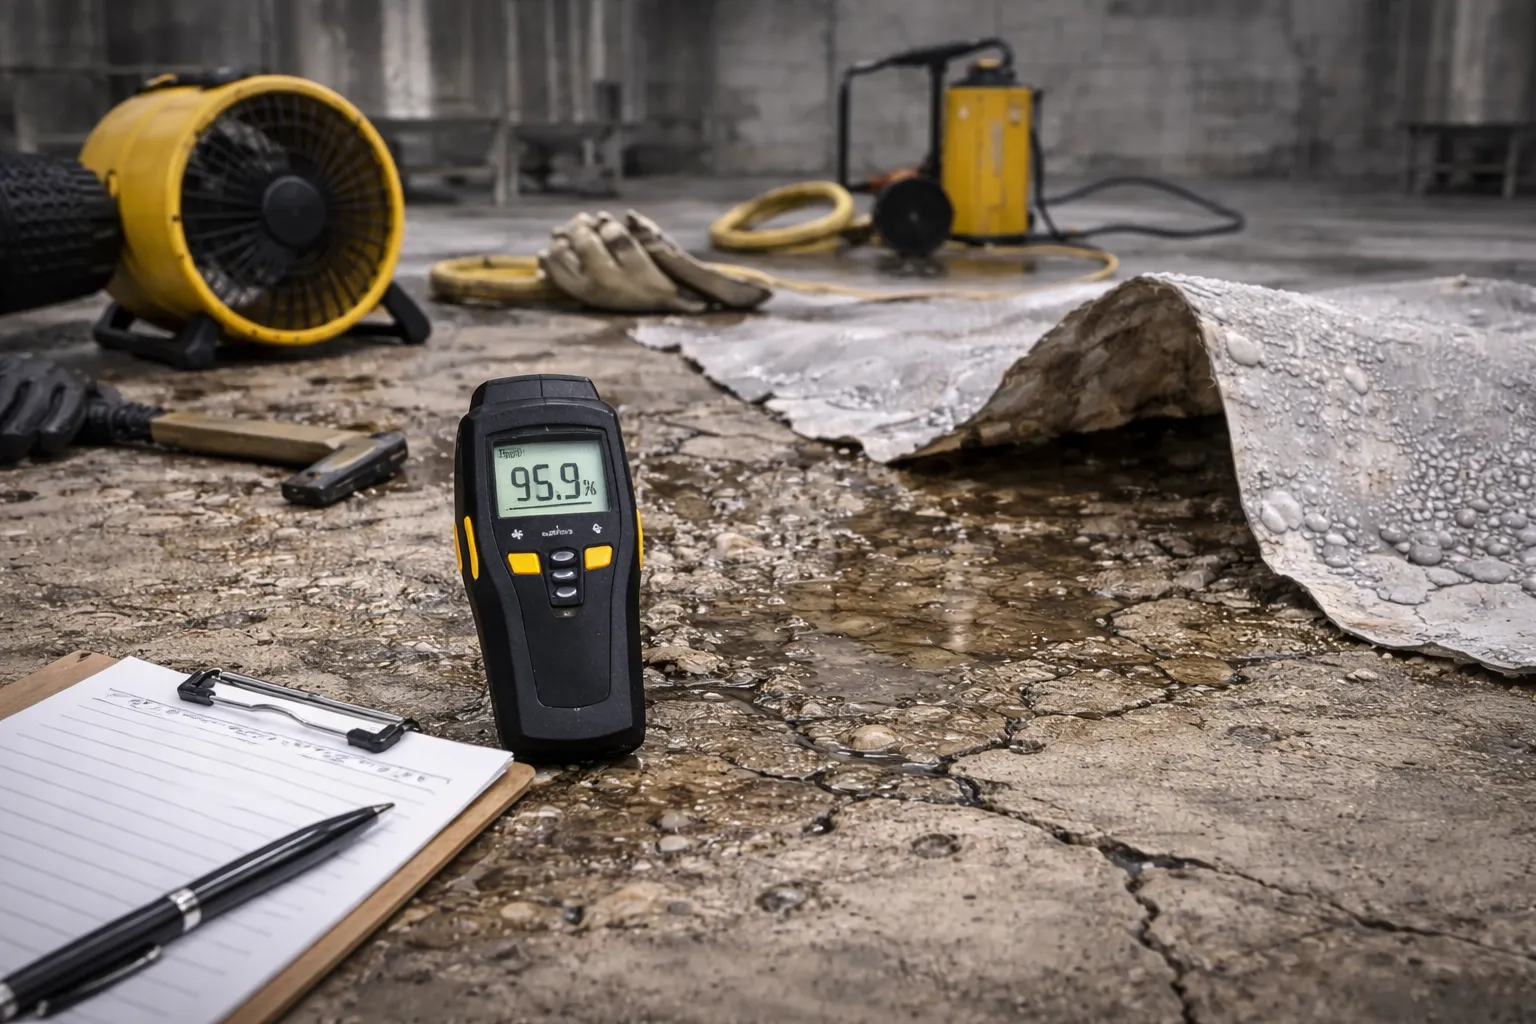
A practical guide for the client and the contractor
If concrete “breathes” moisture, a polymer coating almost always loses: blisters, whitish stains, delamination. The good news: you can catch this before you buy materials.
Why substrate moisture is the #1 risk for epoxy/polyurethane floors
A polymer floor is a thin, dense film that must bond reliably to concrete. When moisture rises from within the slab (along with dissolved salts), vapor pressure builds under the coating. The result: blistering, “bubbles”, and delamination.
The most frustrating part: at application time everything can look perfect. The problem often “fires” 2–8 weeks later, when the facility is already in operation. That’s why moisture testing is not a box‑ticking exercise — it’s budget insurance.
How capillary moisture pulls a coating off: a simple sequence
Important: a vapor barrier (waterproofing under the slab) is needed to “cut off” capillary rise. If it’s missing, moisture can be continuous for years.
Typical “bubbles” and moisture signs
Areas that sound hollow when tapped. Often it’s the primer layer detaching together with the topcoat.
Salts “pull” moisture and weaken adhesion. Sometimes it looks like hazing or marble-like clouding.
Often appears on thin epoxy layers with high humidity/condensation and poor ventilation.
Moisture loves joints and cracks: vapor escapes locally and lifts the coating in “tiles”.
Save‑this checklist before purchasing (very practical)
-
1) Is it a slab on grade?If yes, a vapor barrier under the slab is essential (or you’ll need “compensation” above).
-
2) Do you have documents/photos of the barrier?No proof → assume the barrier may be missing.
-
3) Has moisture been measured?You need a protocol (CM% and/or RH%) with date, points, instrument, and conditions.
-
4) Dew point controlThe substrate must be at least 3 °C above the dew point — otherwise you’ll get condensation.
How to check moisture: what to ask from the contractor/lab
Standards and acceptable values always depend on the specific system and the manufacturer’s recommendations. But the principle is the same: you need a measurable criterion and a written protocol — not “it looks dry”.
| Method | What it shows | Pros / cons | What to request in the report |
|---|---|---|---|
| CM method (carbide test) | Moisture content by mass (in % CM) | Fast and easy to interpret; sampling depth and procedure matter. | Points, depth, date, device, result. A common target is ≤ 4% CM (unless the manufacturer specifies otherwise). |
| In‑situ RH probes | Relative humidity inside the slab (in % RH) | Good for “internal” moisture; requires sensor equilibration time. | Hole layout, depth, stabilization time, %RH and temperature. |
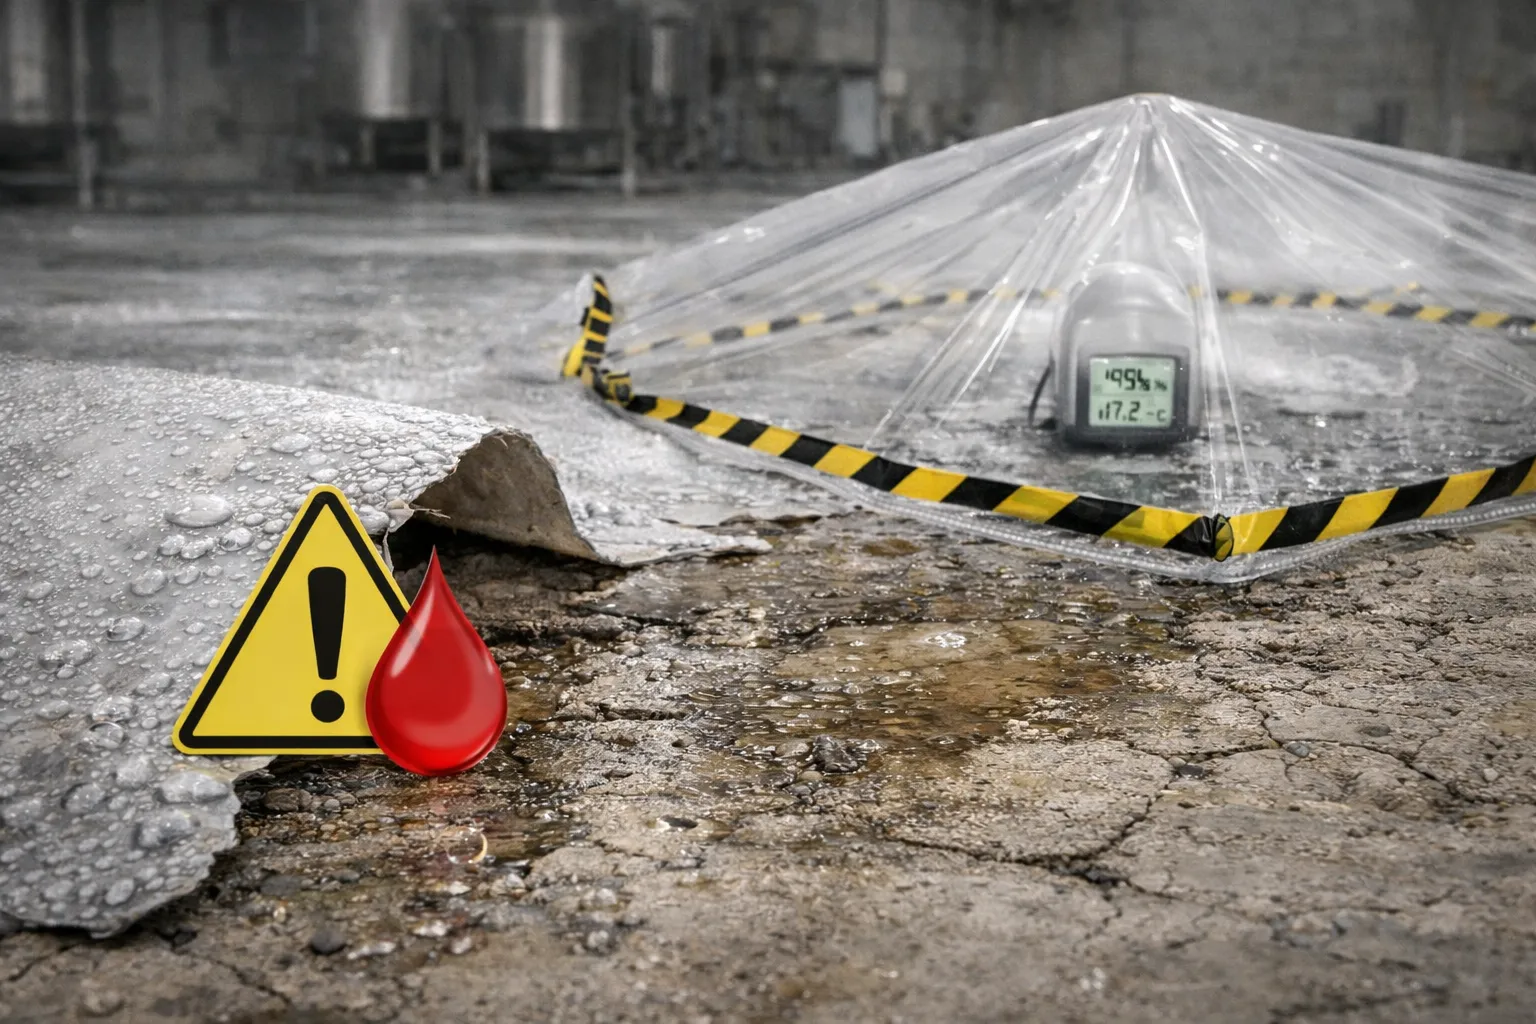
| Plastic sheet 1×1 m (tape test) | Condensation under a sheet after 16–24 h | Cheap, but coarse: no numbers and climate-dependent. | Before/after photos + conclusion “condensation yes/no”. Only as a quick signal. |
| Dew point | Risk of surface condensation | Mandatory during application. Does not replace CM/RH. | Air temp, substrate temp, air humidity, dew point calculation. |
If a contractor says “we always do it this way, it’s fine” — ask for two things: a protocol and a warranty. No measurements = a high risk — and the client almost always pays for it.
Vapor barrier: when it’s mandatory and what to do if it’s missing
A vapor barrier under the slab is required in most cases where the slab is in contact with soil. Without it, capillary moisture will keep “feeding” the concrete. Drying the building helps only temporarily — as seasons/temperatures shift, moisture rises again.
Require it in the design and on site: membrane/film, taped overlaps, upturns at walls, and a protective layer.
You need CM/RH measurements and an assessment of the “moisture potential”. If values are high, plan barrier solutions.
Food wash bays, refrigeration, spill areas — even with “normal” concrete they need a special system selection.
If moisture is above limits: practical options
Use special barrier primers/systems that reduce vapor transmission and create adhesion for the finish. The solution is selected based on test results and the operating conditions.
Sometimes it’s smarter to choose concrete densification/hardening rather than apply a dense film where moisture is uncontrolled. This reduces dusting and stabilizes operation.
If moisture is local (joints, cracks, leaks) — eliminate the source first, then repair concrete and apply localized protection.
Works only with a controlled moisture source and a proper drying regime. “It will dry by itself” is a bad bet.
Important: we supply materials and help select the right system, but we do not perform installation. That’s why it’s critical that the contractor follows the technology and documents measurements.
What must be fixed in the spec and who should sign off
- Measurement method (CM and/or RH), number of points, and depth.
- Acceptance criterion: maximum allowed substrate moisture before application.
- Responsibility: who measures and who signs the protocol.
- Substrate preparation: grinding/milling, dust removal, defect repair, primer.
- Application climate: dew point control, ventilation, temperature.
- Warranty: what counts as a defect and what is considered a technology violation.
If you’d like, we can suggest which values and methods to put into the spec for your site and operating conditions. We only need a few inputs: facility type, loads, chemistry, temperature regime, and substrate condition.
Want to check the substrate before buying — and avoid paying twice?
Fill out a short questionnaire: moisture (if known), presence of a vapor barrier, facility type, and loads. An engineer will advise which tests you need and which coating system is safe for your conditions.