Chemical‑resistant coatings: how to build a proper “chemistry map” for choosing a floor system
“Chemical resistance” isn’t one property and it isn’t a single number from a material data sheet. Real performance depends on concentration, temperature, contact time, and the scenario: routine washdown vs. an emergency spill. Below you’ll find a clear “chemistry map” template and a practical logic for selecting an industrial floor system using it.

- A “chemistry map” template — what fields to collect by zone.
- The difference between acids / alkalis / oils & fuels.
- How to see when “standard epoxy” is risky — and when you actually need PU‑cement.
- Concentration (wt.% or g/L).
- Temperature of the medium and the floor surface.
- Contact time and frequency of exposure.
- Emergency spills and how fast you can neutralize/clean them up.
1) Why you can’t choose “chemical resistance” by a single word
The same coating can show “excellent resistance” to a solution at 20 °C with short contact — and still degrade noticeably when the medium is hot, when soaking is prolonged, or when hot washdown is repeated every day. In real facilities, chemistry is rarely the only factor: you also have mechanics (wheels, abrasion, impact), moisture, and temperature cycles.
That’s why a proper selection process doesn’t start with “Which coating is chemical‑resistant?” but with “Which chemicals, in what regime, in which zones?”
2) The “chemistry map”: a simple template for the specification
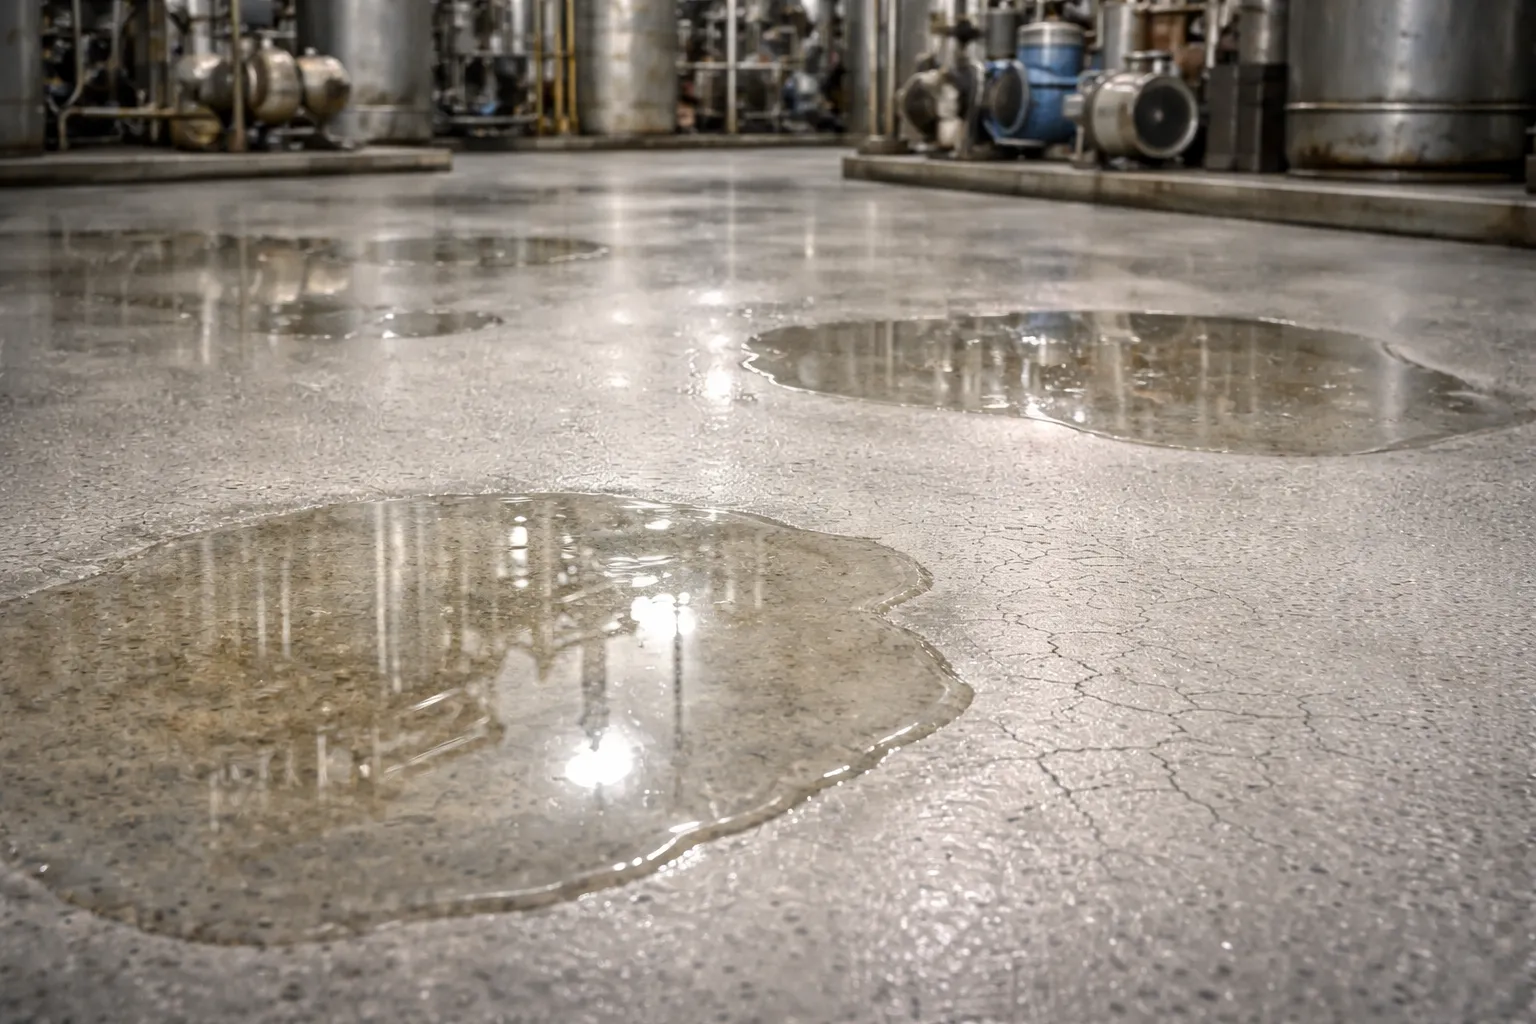
A “chemistry map” is a zone‑by‑zone table for your facility: where it is, what medium it is, how it contacts the floor, and what happens in an incident scenario. It’s convenient to build it together with process engineering and maintenance teams, using SDS/MSDS documents and your washdown/cleaning procedures.
| Zone | Medium / concentration | T, °C | Contact | Frequency | Emergency spill | Notes |
|---|---|---|---|---|---|---|
| Reactor area | NaOH 10–20% | 40–60 | spill / puddles up to 30 min | daily | up to 50 L, neutralization | wet zone, washdown |
| Pump room | oils / fuels, emulsions | 20–35 | drops / film | continuous | rare | plus abrasive |
| Wash line | alkaline cleaner 2–5% | 60–80 | jet / thermal shock | by shifts | possible | details matter: coving/joints |
What must be captured in the “chemistry map”
- Substance (exact name) and concentration (wt.% / g/L) — don’t mix “traces/splashes” with working solutions.
- Temperature of the chemical and the floor surface: hot media often accelerates coating degradation.
- Contact time: a quick splash ≠ a puddle for 2 hours ≠ constant soaking.
- Contact mode: drops, film, puddles, immersion, steam/aerosol, high‑pressure spray.
- Frequency: a single spill once a month and daily cleaning are two different design tasks.
- Emergency spills: volume, time to response, and whether neutralization is used (sorbents/reagents).
- Additional factors: abrasion, vehicle traffic, thermal shock, moisture, sanitary requirements.
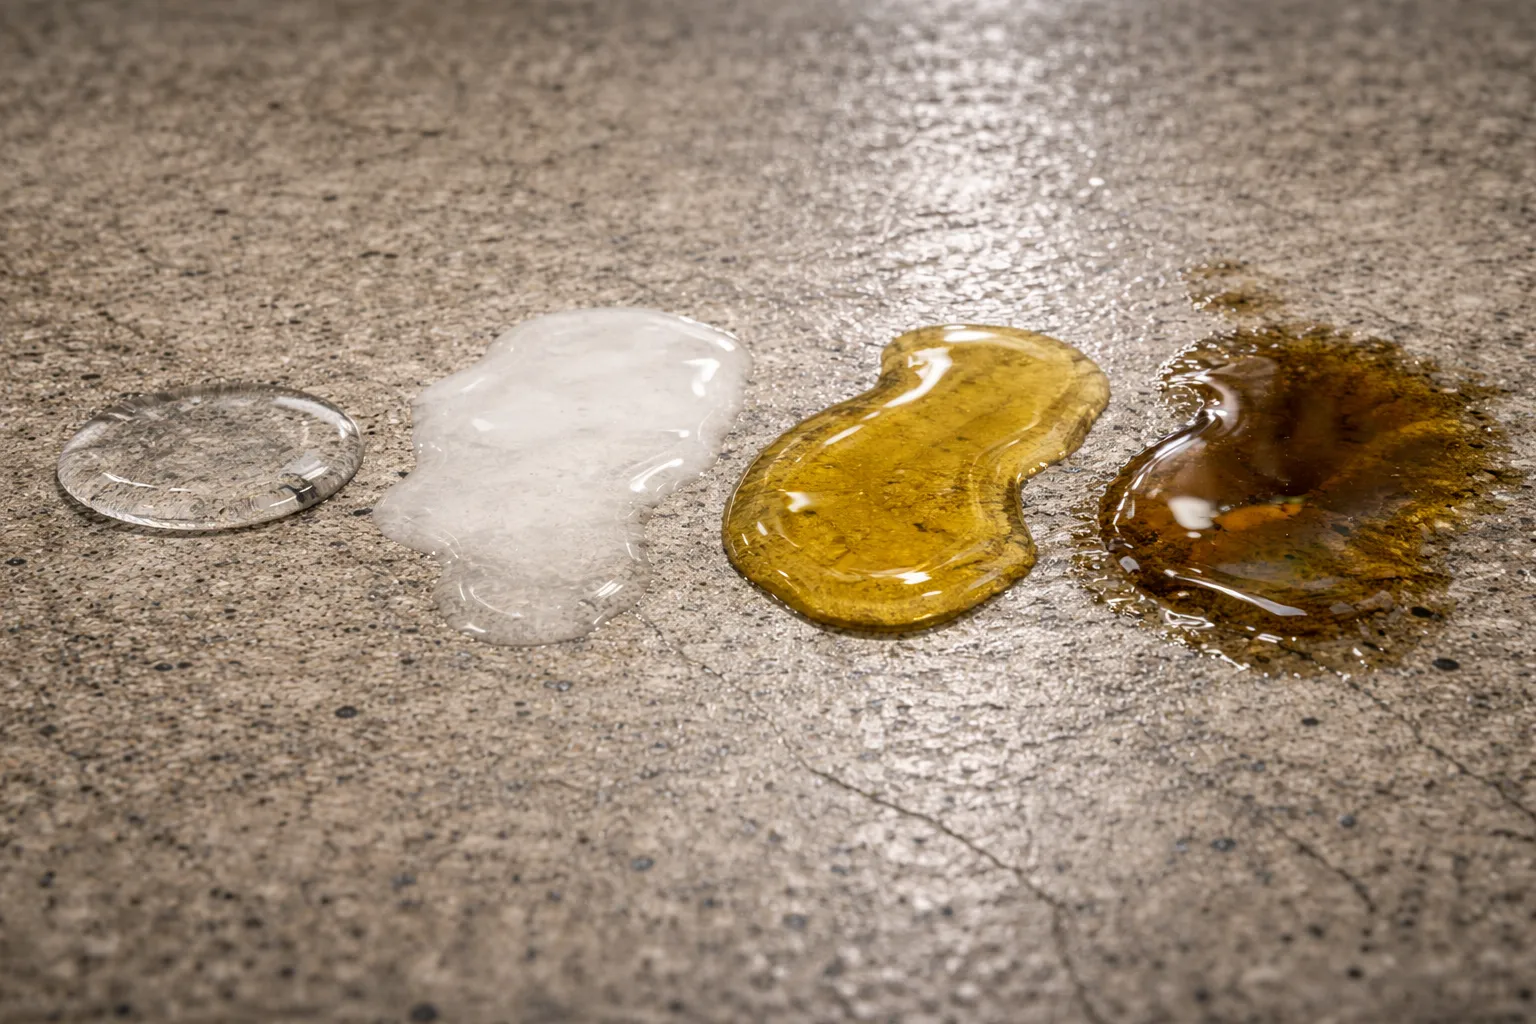
3) Alkalis vs acids vs oils: where selection mistakes happen most often
Below is simplified “engineering logic”. For a specific facility you still need to verify compatibility against the manufacturer’s chemical resistance tables and, if possible, run a test patch.
- common scenario: cleaning solutions + steam / high pressure;
- details matter: joints, terminations, drains.
- high concentrations and warm solutions increase risk sharply;
- emergency spills are a separate regime — don’t ignore them.
- capture: mineral/synthetic oils, diesel, hydraulic fluids;
- anti‑slip texture and repairability are important.
Solvents (acetone, toluene, xylene, etc.) and strong oxidizers are a category of their own. If solvents are present on site, they must be a separate line in the chemistry map — the list of suitable systems typically narrows dramatically.
4) How to “read” the chemistry map and choose a floor system
In practice it helps to group zones into three aggressiveness levels — then select the build‑up accordingly: substrate/primer, body coat, top coat, and detailing (joints, terminations, drains).
- Low / moderate chemistry: splashes, low concentrations, room temperature, fast removal. Here epoxy/PU systems can work — with correct surface prep and maintenance.
- Harsh chemistry + moisture/washdown: regular cleaning solutions, acids/alkalis, constant moisture. Risk for “standard” coatings is higher — PU‑cement or specialized systems are often chosen.
- Harsh chemistry + temperature/thermal shock: hot water, steam, CIP cleaning, temperature swings. This is the classic zone where PU‑cement coatings tend to perform best as a package.
- handles wet regimes and frequent washdown better;
- is more tolerant to temperature cycles and thermal shock;
- helps maintain stable operation in chemically aggressive zones — when the specification is done correctly.
5) Which products in the range can fit “chemical” exposure
If your chemistry map shows the combination of moisture + cleaning solutions + temperature, it’s often rational to start with PU‑cement systems and chemical‑resistant specialized solutions:
- LINCRETE® ST — PU‑cement, higher resistance for heavy‑duty regimes (6–12 mm).
- LINCRETE® SL — self‑leveling PU‑cement for chemically loaded zones (4–6 mm).
- PRASPAN® KHIMFLOR — a chemical‑resistant solution tailored to the plant’s conditions.
6) Quick checklist before the final decision
- Build a zone‑by‑zone chemistry map (at least 5–10 lines).
- Add the cleaning procedure: what you use, at what temperature, how often.
- Describe emergency spills: volume, time to response, whether neutralization is available.
- Check the details: joints, wall terminations, drains, coving/skirting (this is where problems often start).
- If the media is difficult — plan a test patch or lab validation of samples.
Disclaimer: this article is for reference only. Chemical resistance depends on the exact composition of the medium and real operating conditions. Make the final system choice based on the manufacturer’s technical documentation and/or test results.