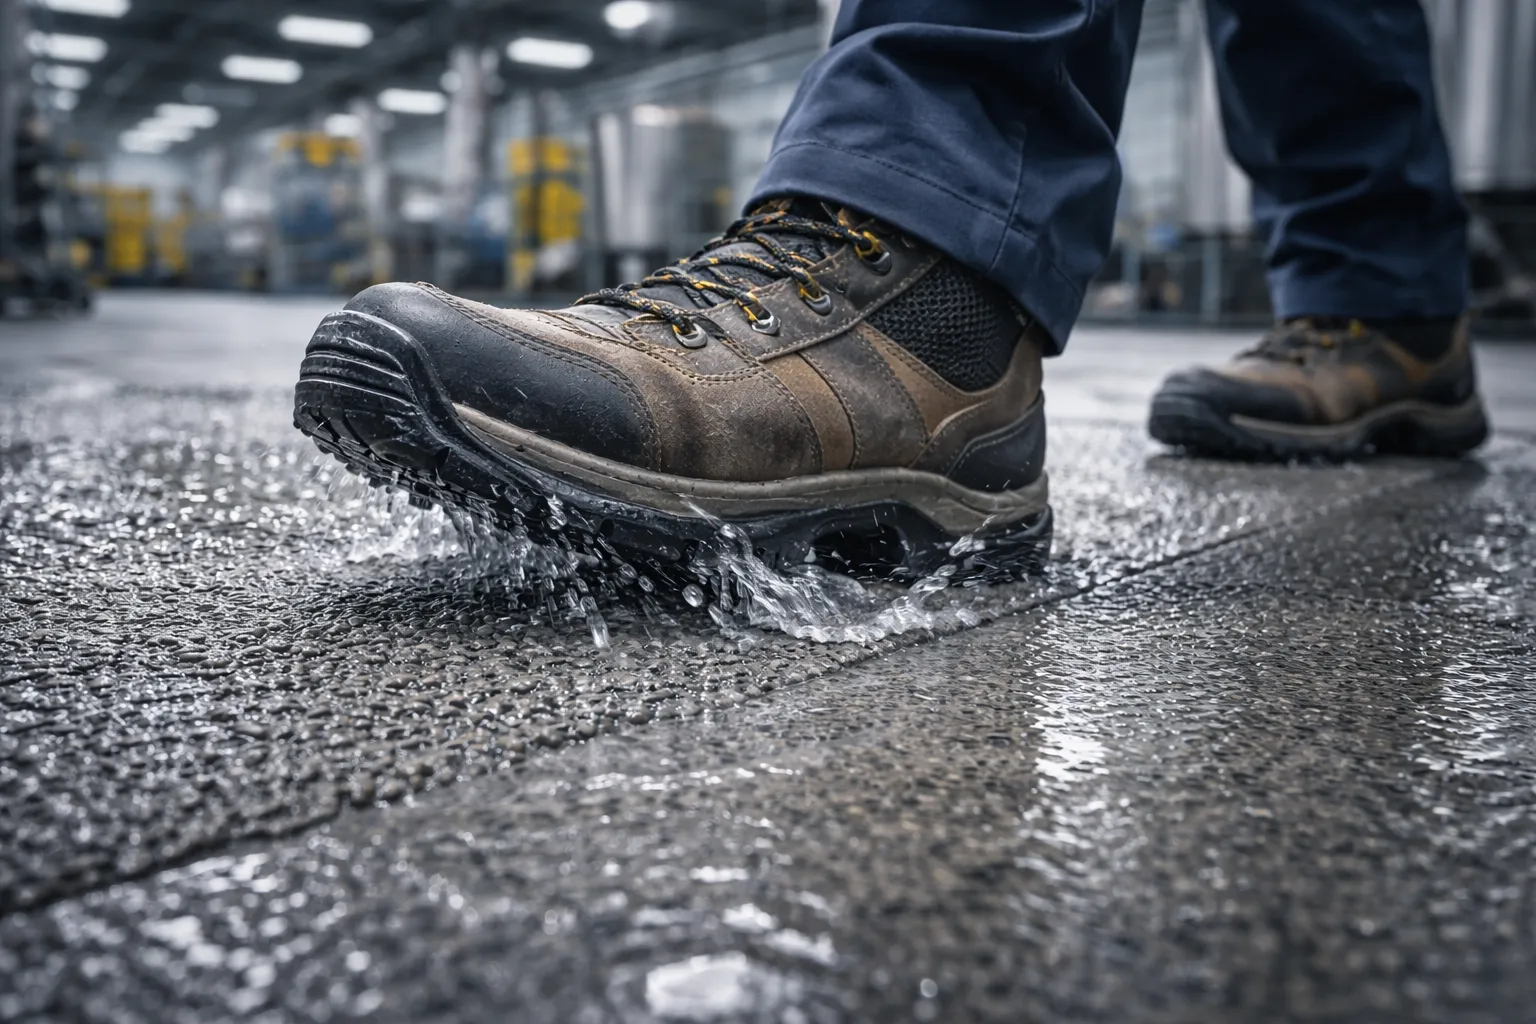
R‑class slip resistance is a handy “label” that helps specify in a project how resistant a floor is to slipping when walking in footwear. But there’s an important nuance: the highest R‑class does not always mean “the best floor”. The more “grippy” the surface, the harder it is to clean, the higher the risk of contaminants building up in the texture, and the harder local repairs become.
Below is a clear explanation: where a high class is truly needed (ramps, slopes, wet areas, oils/fats), and where it makes more sense to choose a moderate R, gaining in hygiene, maintenance, and total cost of ownership.
Contents
- What is the R‑class and how is it measured
- R9–R13: table and typical application areas
- Where a high R is needed and where hygiene/repairability matters more
- How the required R‑class is achieved in the floor system
- How to specify slip resistance properly in the technical specification
- Examples of systems and sites
- FAQ
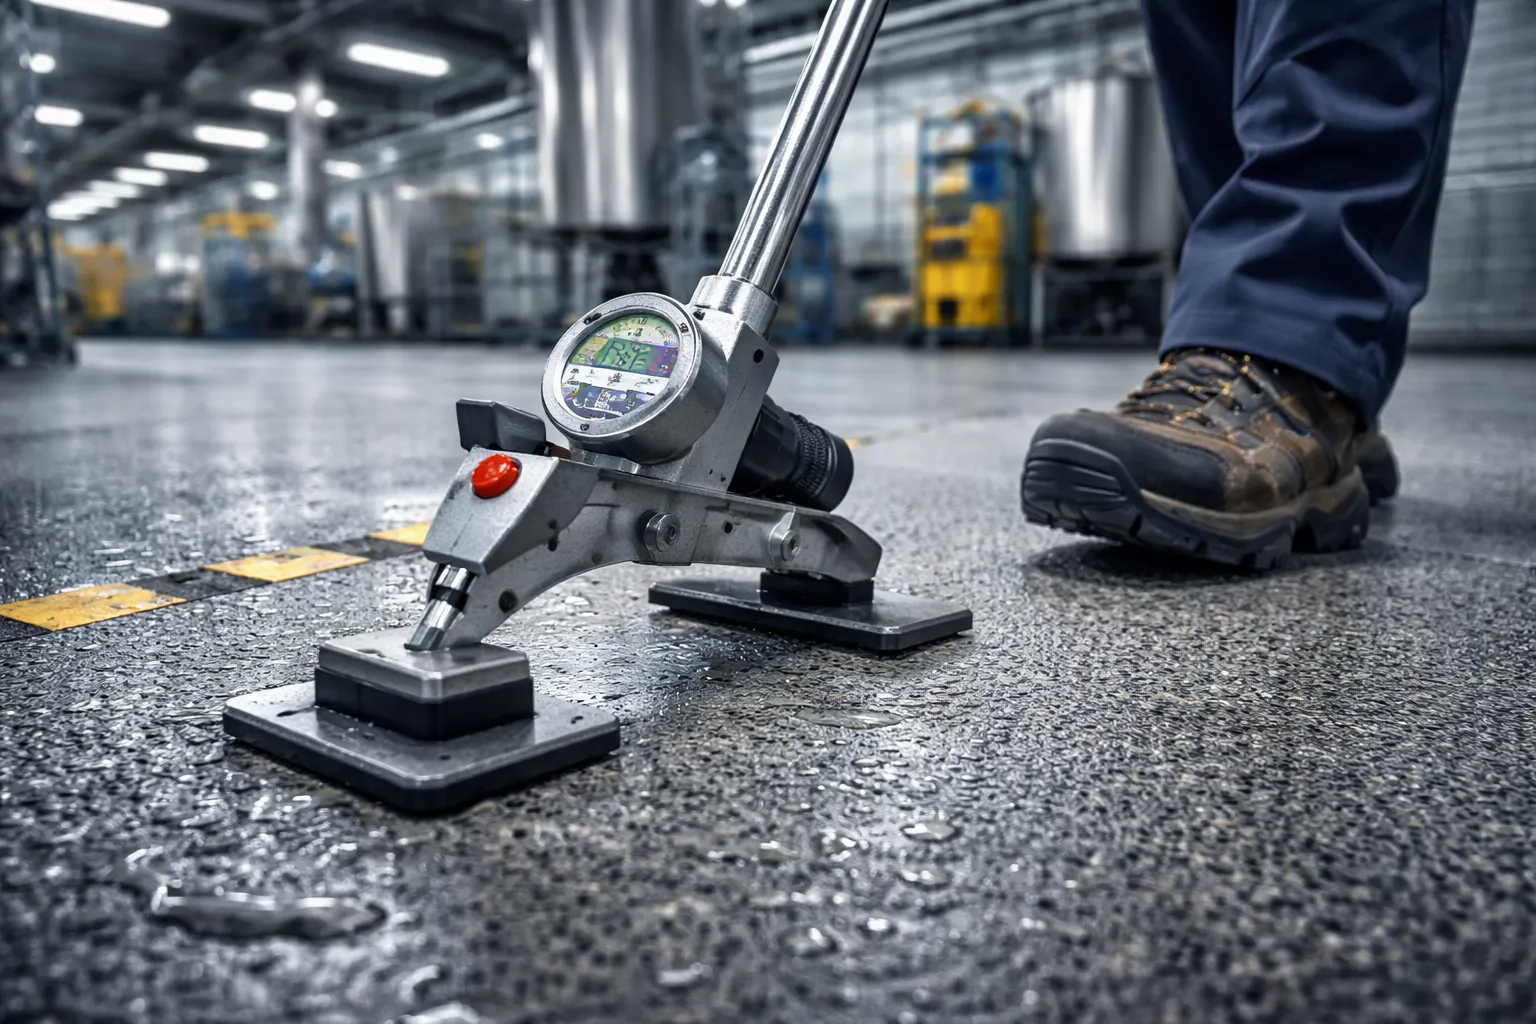
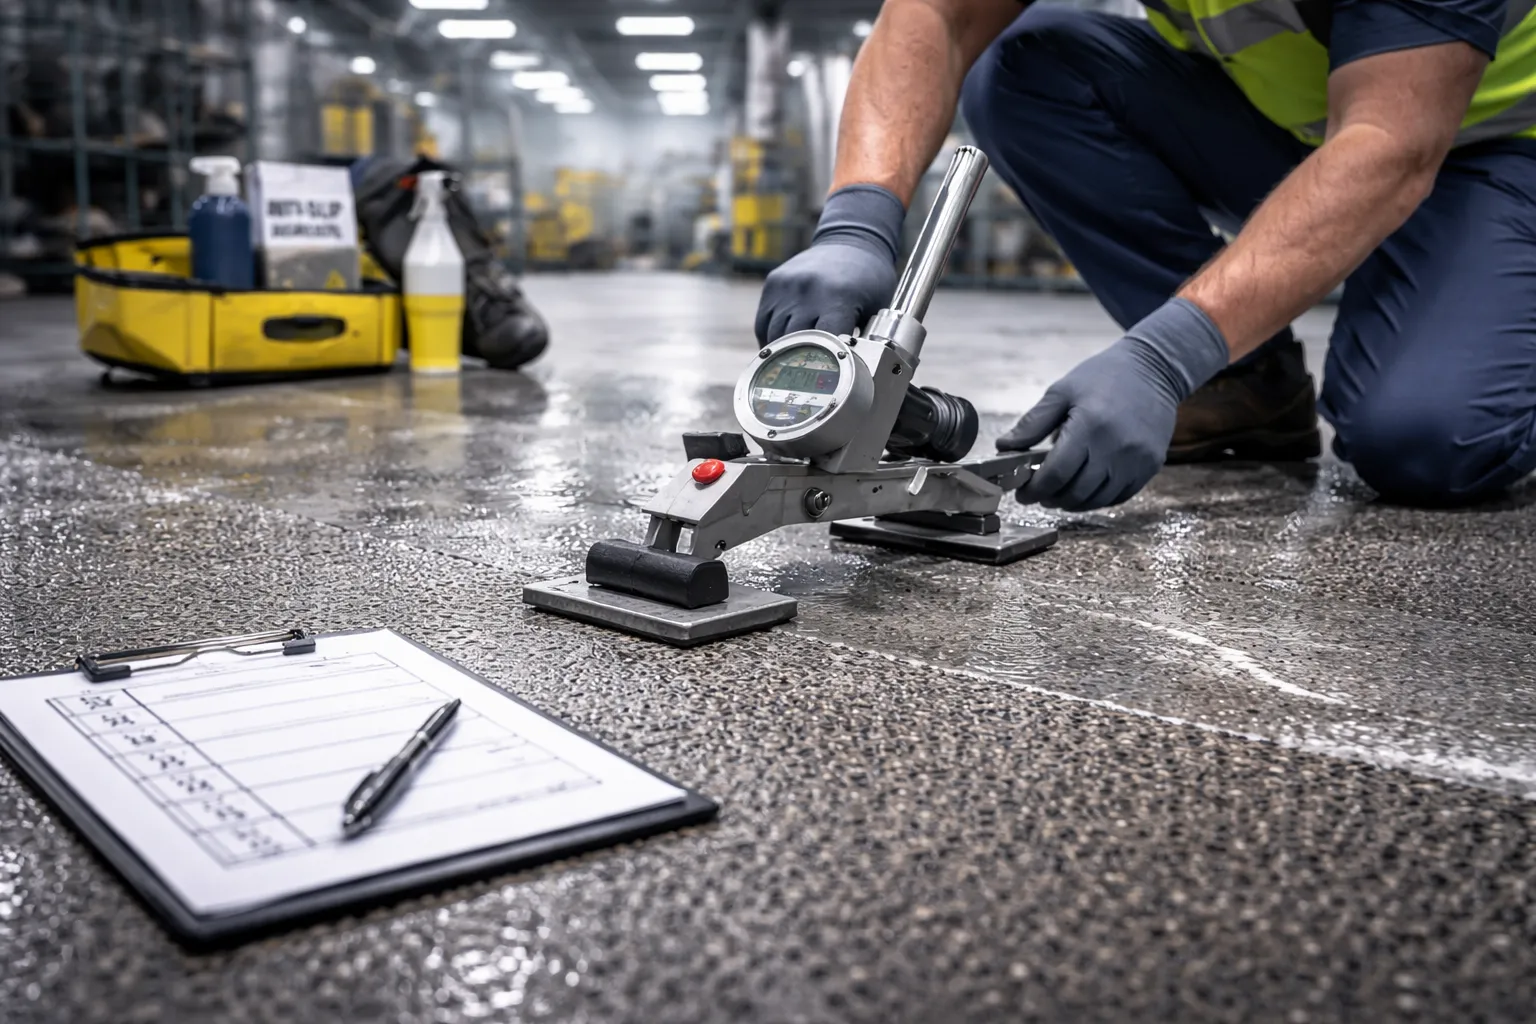
1) What is the R‑class and how is it measured
R classes (R9…R13) are most commonly tied to the “ramp test” (inclined plane test). The idea is simple: the surface is gradually inclined and the moment when a person in footwear starts to slip is recorded. The greater the angle the floor withstands, the higher the class.
Important difference between standards (a common source of confusion)
R‑class usually refers to walking in footwear (manufacturing, warehouse, parking).
For areas where people walk barefoot (showers, pools), the A/B/C classification is often used — that’s a different test with a different meaning.
Another thing that’s often forgotten in specs: when contaminated with oils/fats, not only “roughness” matters, but also the texture’s ability to “break” the liquid film. That’s why some standards also specify the V parameter (for example V4/V6/V8/V10).
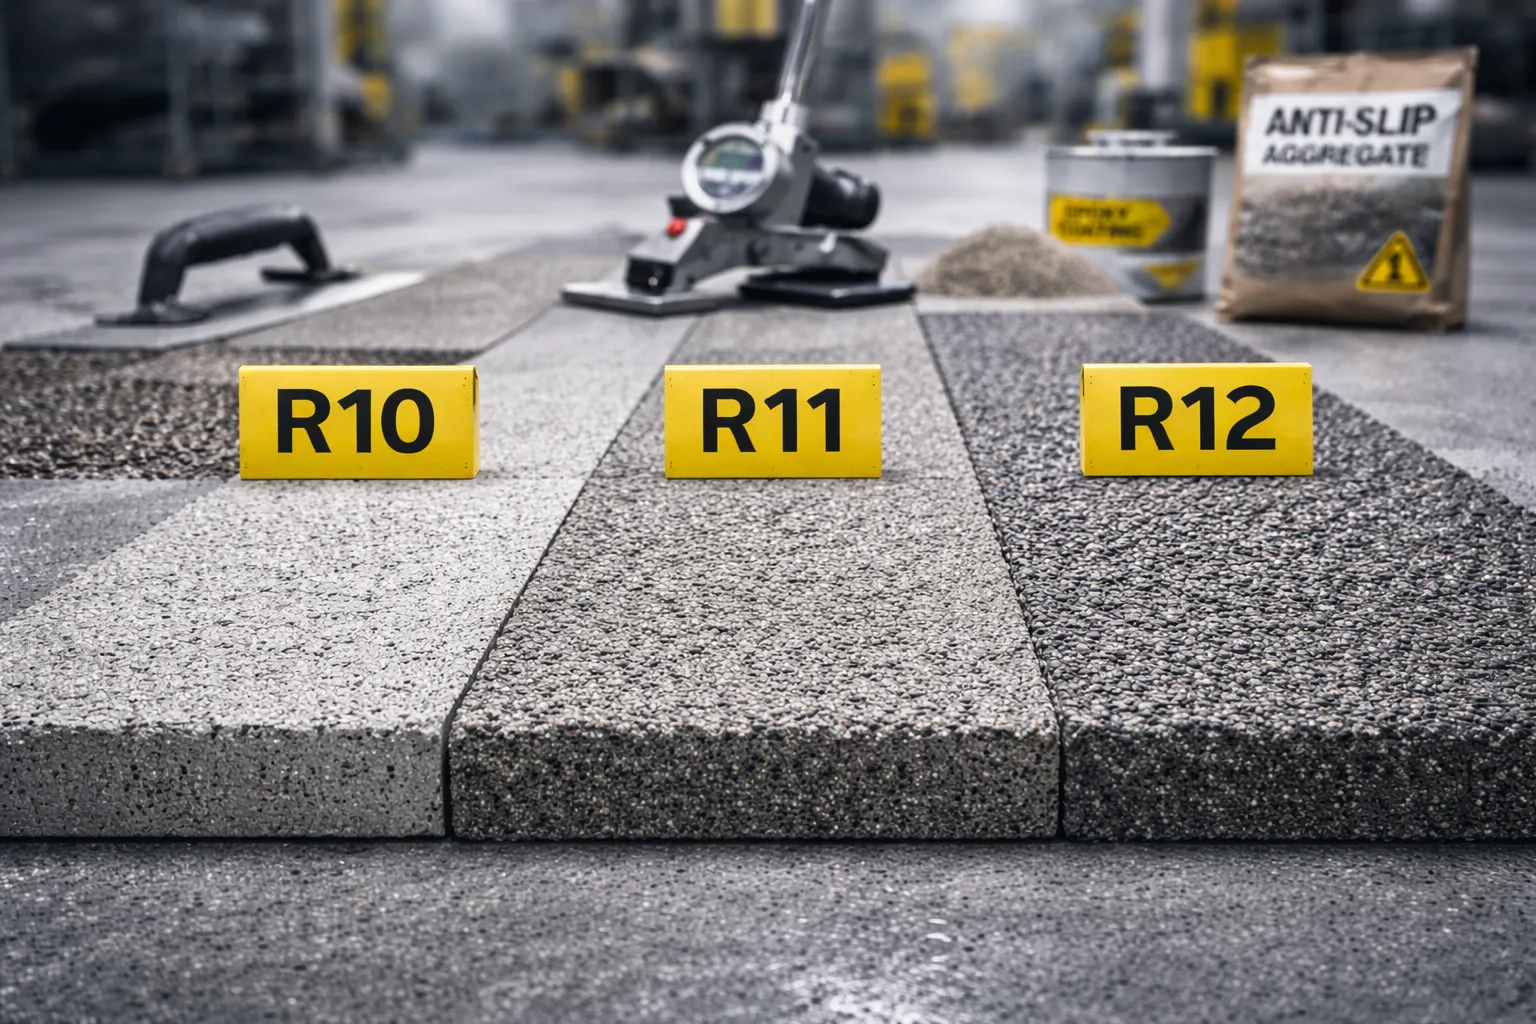
2) R9–R13: table and typical application areas
The table below is for reference. It doesn’t replace a risk assessment on site, but it helps narrow the choice quickly.
| Class | Meaning (roughly) | Where it’s used | Notes |
|---|---|---|---|
| R9 | dry areas, low risk | dry warehouses, clean rooms, corridors without water | often the best choice when cleaning and hygiene are critical |
| R10 | a versatile middle ground | warehouses with periodic wet cleaning, areas near gates/ramps without constant water exposure | a good balance of slip resistance and maintainability |
| R11 | enhanced grip | wet production areas, food facilities (excluding washdown), unloading, frequent spills | texture is more pronounced — plan cleaning and repairs |
| R12 | high level | ramps/slopes, areas with constant water/emulsions, process washdown | often best done “locally”, not across the whole facility |
| R13 | maximum grip | critical areas: steep ramps, oils/fats, exceptionally slippery processes | requires sensible texture geometry and thought-through cleaning |
Tip
If someone suggests doing R12–R13 everywhere “just in case”, ask: how it will be cleaned and how local repairs will be done, so the surface doesn’t end up “patchy”.
3) Where a high R is needed and where hygiene and repairability matter more
The most practical approach is to think by zones and by the real operating mode: what gets spilled, how it’s cleaned, whether there’s a slope, what equipment drives there, and how critical downtime is.
Ramps, loading docks, entry/exit
Here a high class is often justified: slope + water/dirt sharply increases the risk. But slip resistance isn’t only about the R class: slopes, drainage, avoiding “mirror-like” films, and markings also matter.
Wet areas in food production
In “wet” areas it’s important to balance safety ↔ hygiene. Overly rough texture can trap contaminants and make sanitary cleaning harder. A common approach is to raise the class locally: washdown areas, spill points, entrance areas.
Warehouses and logistics
In warehouses, a moderate R and a stable surface often win: it’s easier to clean, less abrasive, and more comfortable for equipment. An overly “grippy” texture can accelerate wheel wear and make marking/repairs harder. But near gates (rain/dirt) the class can be raised locally.
Stairs, walkways, entrance areas
Falls happen here often: people walk faster, carry loads, and footwear is wet. The logic is the same — increase slip resistance locally and deliberately.
Mini texture gallery: how it looks in real life
In practice, slip resistance is set by the final surface texture (broadcast, microrelief, “orange peel”, etc.). Below are a few visual examples.
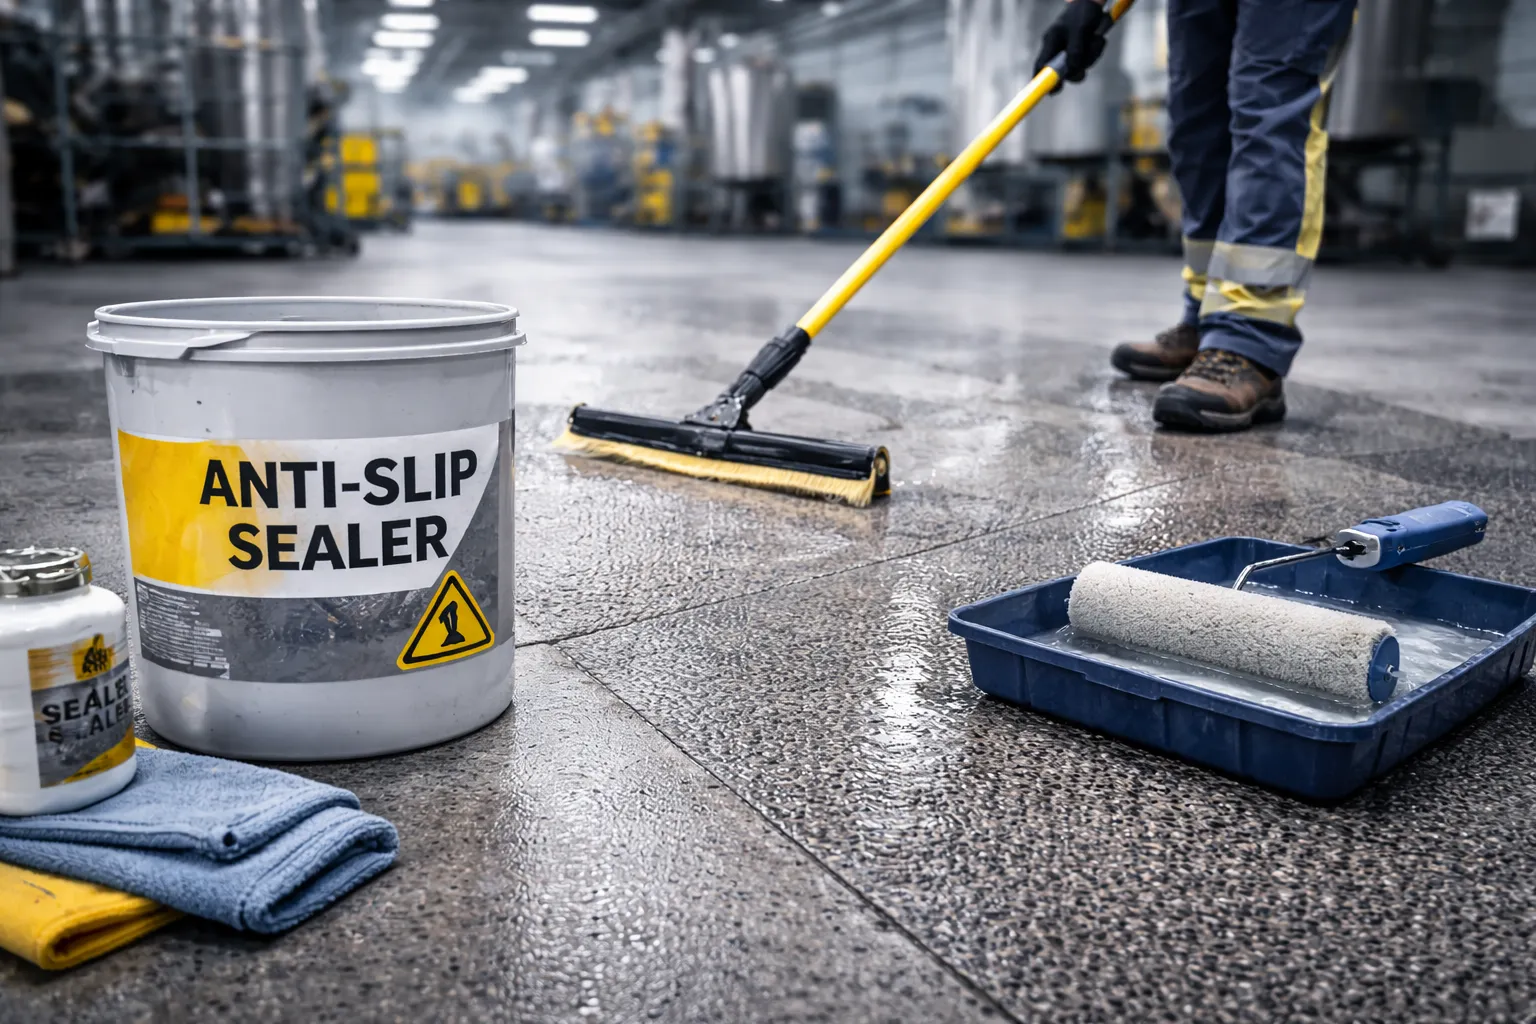
4) How the required R‑class is achieved in the floor system
In polymer and cementitious systems, slip resistance is usually achieved with controlled texture. Important: the same system can deliver a different R‑class depending on the finish.
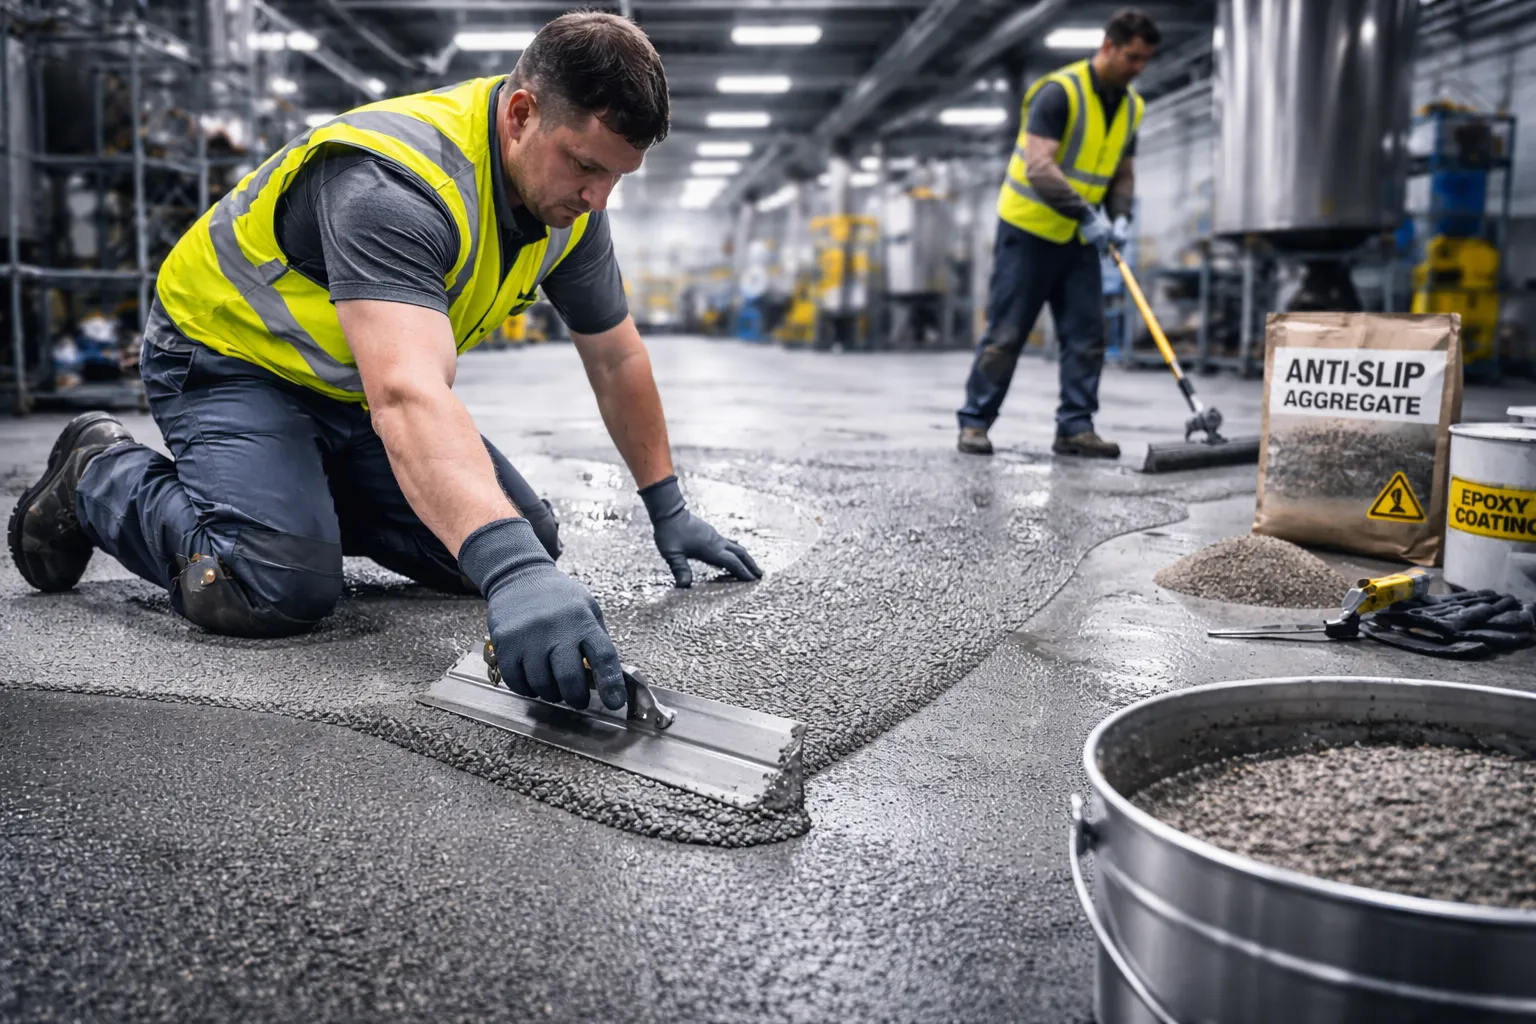
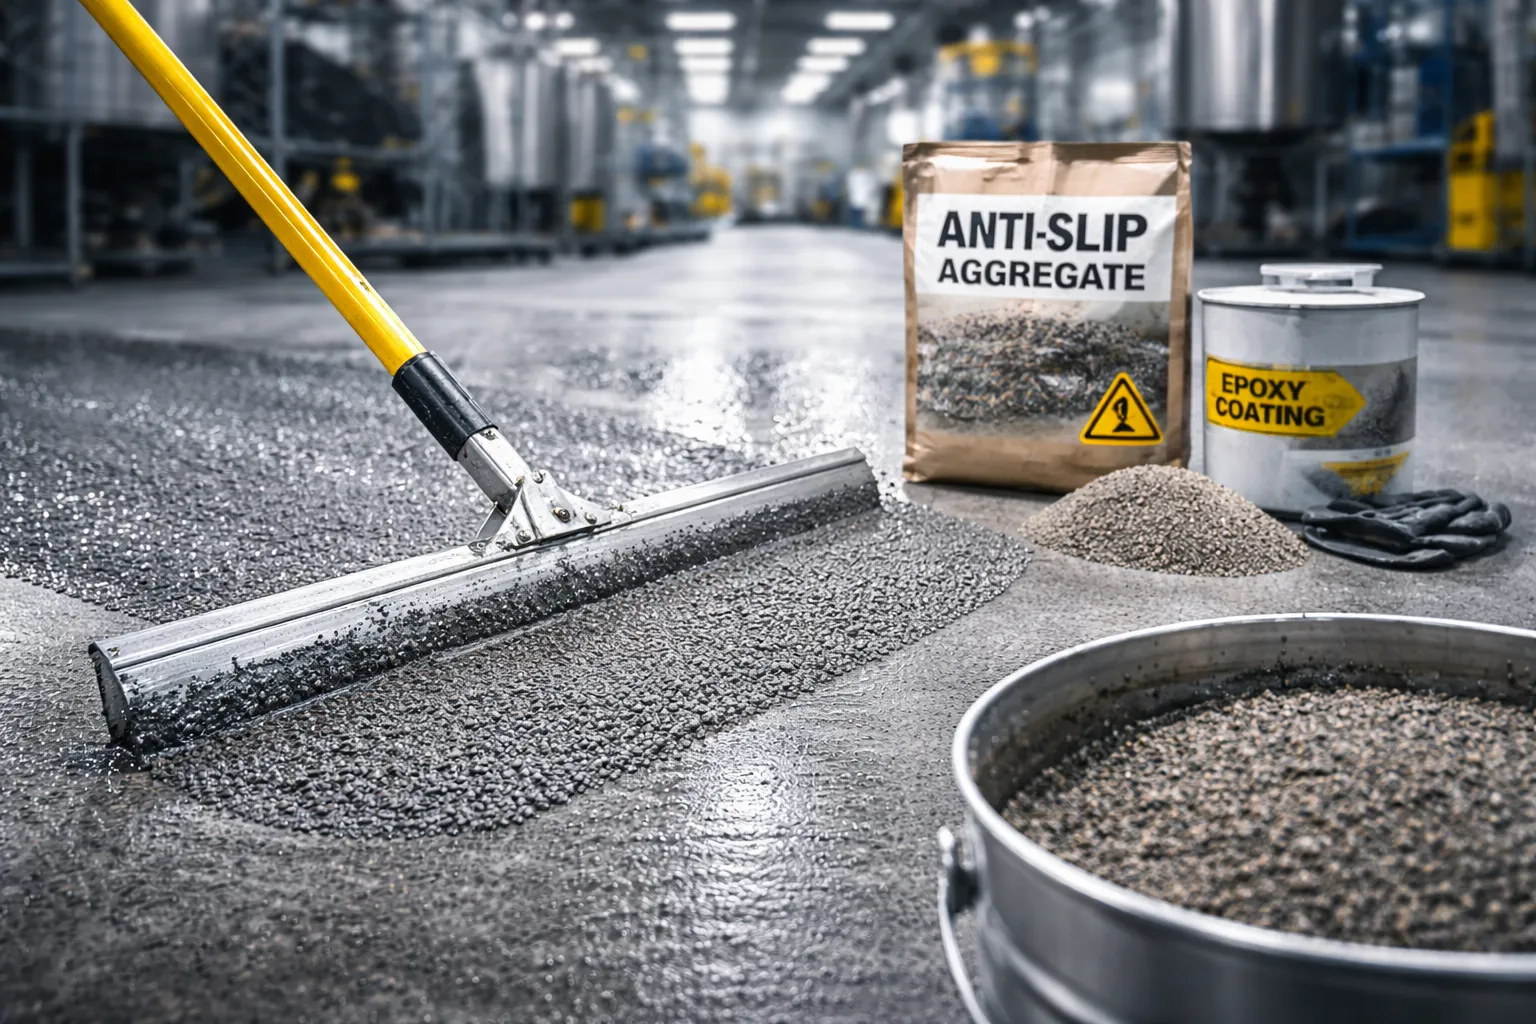
Most common methods
- Quartz/grit broadcast + final topcoat. Reliable for “high‑risk” areas and delivers a predictable result.
- Textured roller / microrelief. Visually softer and often easier to clean, but uniformity must be controlled.
- Structured systems (PU‑cement, etc.). Often provide a high R and perform well in “wet” operating modes — with the right substrate preparation and cleaning.
- Profiling/grooves (for slopes and critical spots). This is already an engineering solution: it helps drainage and reduces the liquid‑film effect.
Where mistakes happen most often
- They raise R “everywhere” — then cleaning, hygiene, and repairs suffer.
- They don’t divide the facility into zones (ramp ≠ warehouse ≠ washdown).
- They don’t tie it to cleaning (chemicals, pressure, brushes/pads, water temperature).
- They skip a trial patch (1 m² can save weeks of rework).
5) How to specify slip resistance properly in the technical specification
The phrase “Make it R11” is almost always insufficient. At minimum, to make the system choice clear and predictable:
1) Zone layout
Where the ramps, docks, washdown areas, warehouses, and walkways are.
2) What actually gets on the floor
Water, oils, emulsions, chemicals, dirt from outside, abrasive.
3) Slopes
Whether there’s a slope, where it starts, and where the water drains.
4) Cleaning
Frequency, equipment (scrubber dryer/pressure washer), chemicals, temperature, brushes/pads.
5) Traffic and equipment
Pedestrians, carts, forklifts, speed, turns.
6) Hygiene and texture constraints
How critical it is to be “easy to clean” and not trap dirt in the texture.
7) Repair and downtime requirements
Can an area be closed off, is fast return to service required, and is “spot” repair of the texture acceptable.
Want to select the R‑class and system by zone?
Send a plan (or a schematic), a few photos, and a short description of the operating/cleaning routine — we’ll propose options by zone and explain the logic.
6) Examples of systems and sites
To make it easier to get oriented, below are a few systems where the desired R‑classes are common, and examples of sites.
System examples

Epoxy system 2–3 mm (R10–R11)
A common option for warehouses and “dry” production areas where cleaning matters.

PU‑cement 6–9 mm (R11–R13)
For wet areas, thermal shock, and harsh operating conditions.

Concrete impregnation (dust proofing, R9–R10)
Minimal protection and reduced dusting for “dry” zones.
Example sites
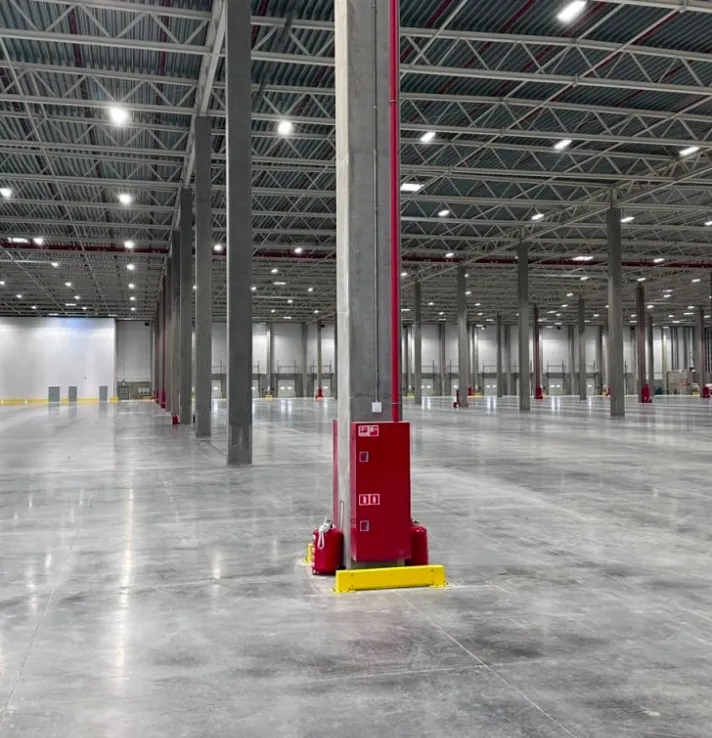
Ozon logistics warehouses — example R9–R10
On large areas, flatness, wear resistance, and ease of maintenance matter.
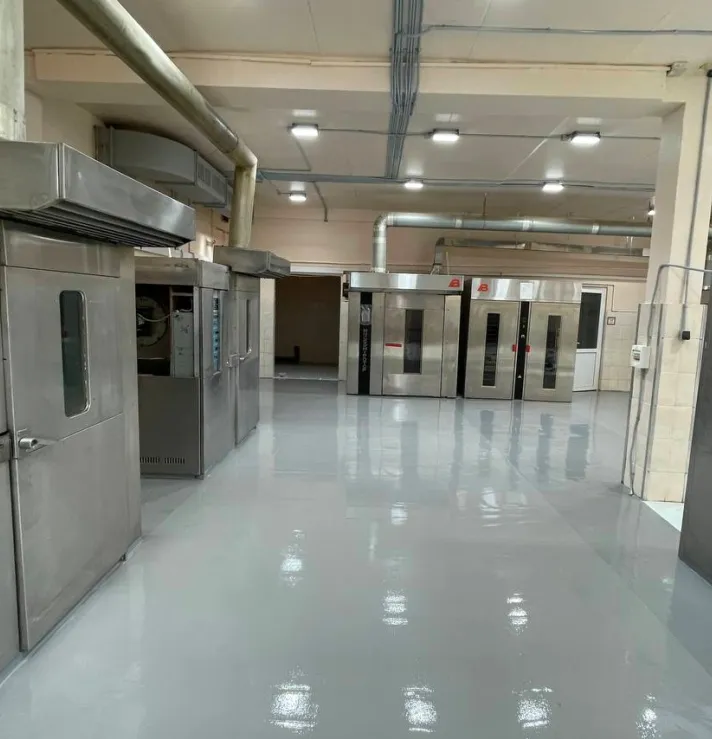
Food industry — example R11–R12
Wet areas require a balance between safety and sanitary cleaning.
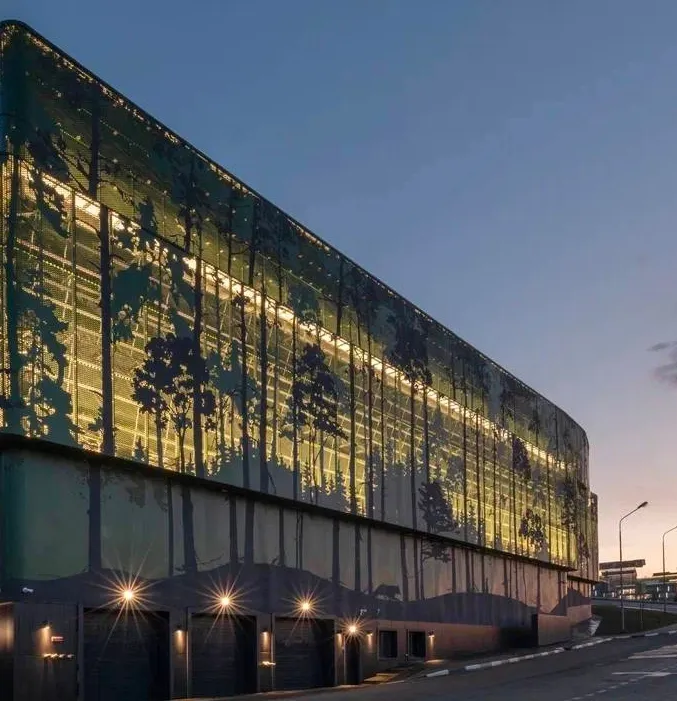
Multi-level parking garage — example R11–R12
Slopes and entrance areas often require increased slip resistance.
FAQ
Can we do R12 and then “sand it down” so it’s easier to clean?
Is it true that the higher the R, the safer and better it is?
What matters more: the R‑class or chemical resistance/thermal shock/thickness?
Can you get a high R without a “very rough” surface?
Quick takeaway
- Is there a slope + water/dirt? Increase R locally (ramps, entrances, unloading).
- Oils/fats present? Consider the texture and the cleaning regime — not just the R number.
- Hygiene is critical? Don’t overspecify R where the task can be solved by the right system and smart zoning.