
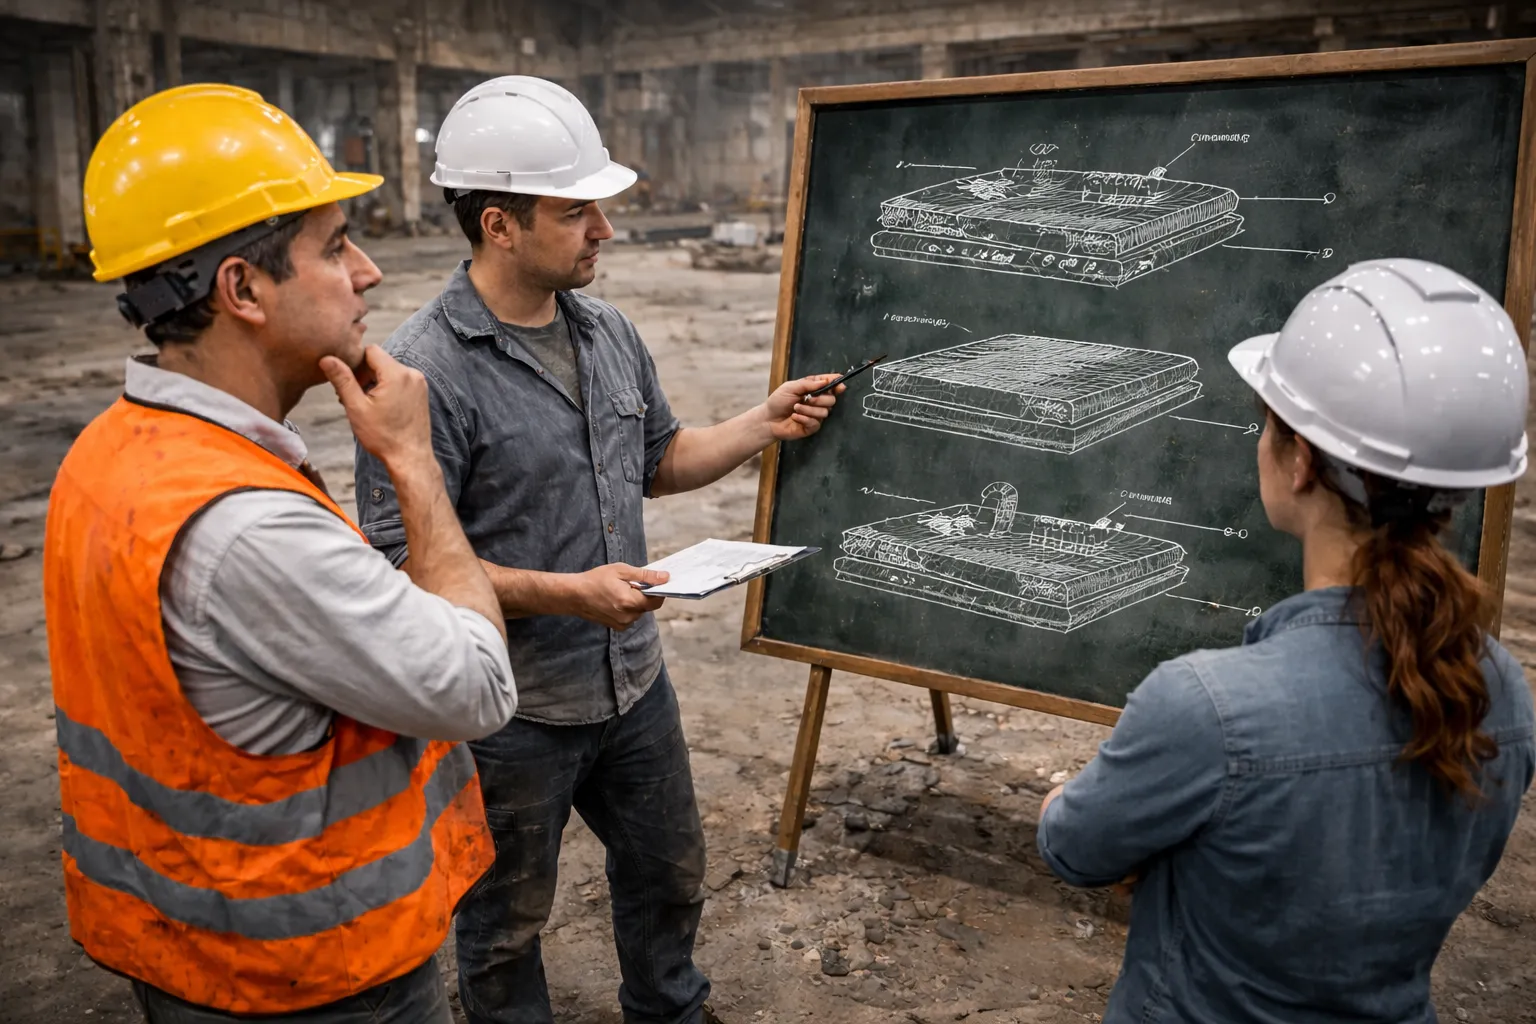
a practical decision tree
Diagnostics, a “damage map”, downtime planning, and temporary fixes — so you don’t overpay and don’t end up repairing the same areas every few months.
Choosing a strategy doesn’t start with “which mix should we buy?” — it starts with the root cause: moisture, a weak top layer, joint mistakes, chemicals/thermal shock, or overloaded traffic. If you don’t remove the cause, any “nice new layer on top” will repeat the same defects.
We are not a contractor : we supply materials and provide engineering support/technical supervision. The work is performed by your crew or your chosen contractor.
Local defects: potholes, joint edges, isolated delamination.
A new working layer on a properly prepared substrate: epoxy / PU-cement.
Structural issues: settlement, extensive cracking, persistent moisture.
1) Diagnostics: what to check before choosing a method
The goal of diagnostics is to separate “a surface problem” from “a substrate problem” — and understand what will happen if you overlay the floor without fixing the basics.
- potholes/spalling, dusting, delamination
- cracks: where they are and how they open
- defects in equipment lanes and near gates/docks
- tap test / chain drag → mark the boundaries
- if voids are widespread, overlay without deep prep is risky
- crumbling edges = wheel impact + weak arris
- poor joint filler accelerates floor and coating damage
- moisture from below often “peels off” polymer layers
- a pull-off test shows whether the concrete can hold a new system
If defects concentrate in equipment lanes, it’s usually mechanics/joints. If defects are uniform across the whole area, it’s more often a substrate issue: moisture, a weak top layer, or poor preparation.
2) “Damage map”: the basis for a quote and sequencing
Make a simple floor plan (PDF is fine, or even hand-drawn) and mark defects with coordinates. This speeds up pricing and helps split work into stages.
- Divide the area into cells (e.g., 5×5 m) or by gridlines.
- Mark defect types: TR (cracks), SH (joints), SK (spalls), DL (delamination), DU (dusting), CH (chemistry).
- Assign a severity level: A — OK, B — cosmetic, C — affects operations, D — structural problem.
- Measure areas/meters and highlight critical traffic lanes.
- quantities in m² / linear meters
- sequencing by zones/shifts
- fewer “unexpected” expenses
- hidden voids (hollow areas)
- details near drains/gates
- joints in equipment lanes
Attach the map to your contractor’s scope — it instantly improves clarity and reduces “risk pricing”.
3) Choosing a strategy: a short decision tree
If defects are localized (roughly up to 10–15% of the area) and there are no settlements or widespread voids. Priority: joints and equipment lanes.
If you need a new working surface (wear/chemistry/cleaning) and the slab is stable. Preparation, joint work, and moisture control are mandatory.
If cracks are “active”, there is settlement, a lot of hollow sounding areas, or persistent moisture from below. Otherwise the repair will become cyclical.
4) Downtime: planning benchmarks
| Scenario | Typical | How to reduce downtime |
|---|---|---|
| Spot repairs by sections | hours → 1–2 days (per zone) | work in phases, night windows |
| Epoxy/PU overlay | 2–5 days (per section) | zoning, prepare logistics in advance |
| Fast-track systems | one shift / overnight | strict process + “time windows” |
| Substrate reconstruction | weeks | by maps/gridlines, temporary bypass routes |
5) Temporary measures when “the repair is needed yesterday”
- barriers/marking, reroute equipment
- temporary plates over “dead” joints/potholes
- emergency repair of the most dangerous holes with fast-curing mortar
- use an industrial vacuum instead of “pushing dust around”
- local densifier/dustproofing (if moisture allows)
- protect clean zones with temporary coverings
Temporary measures are for “buying time”, not replacing proper repair. In parallel, prepare the damage map and a phased plan.
Repair materials: examples from the catalog
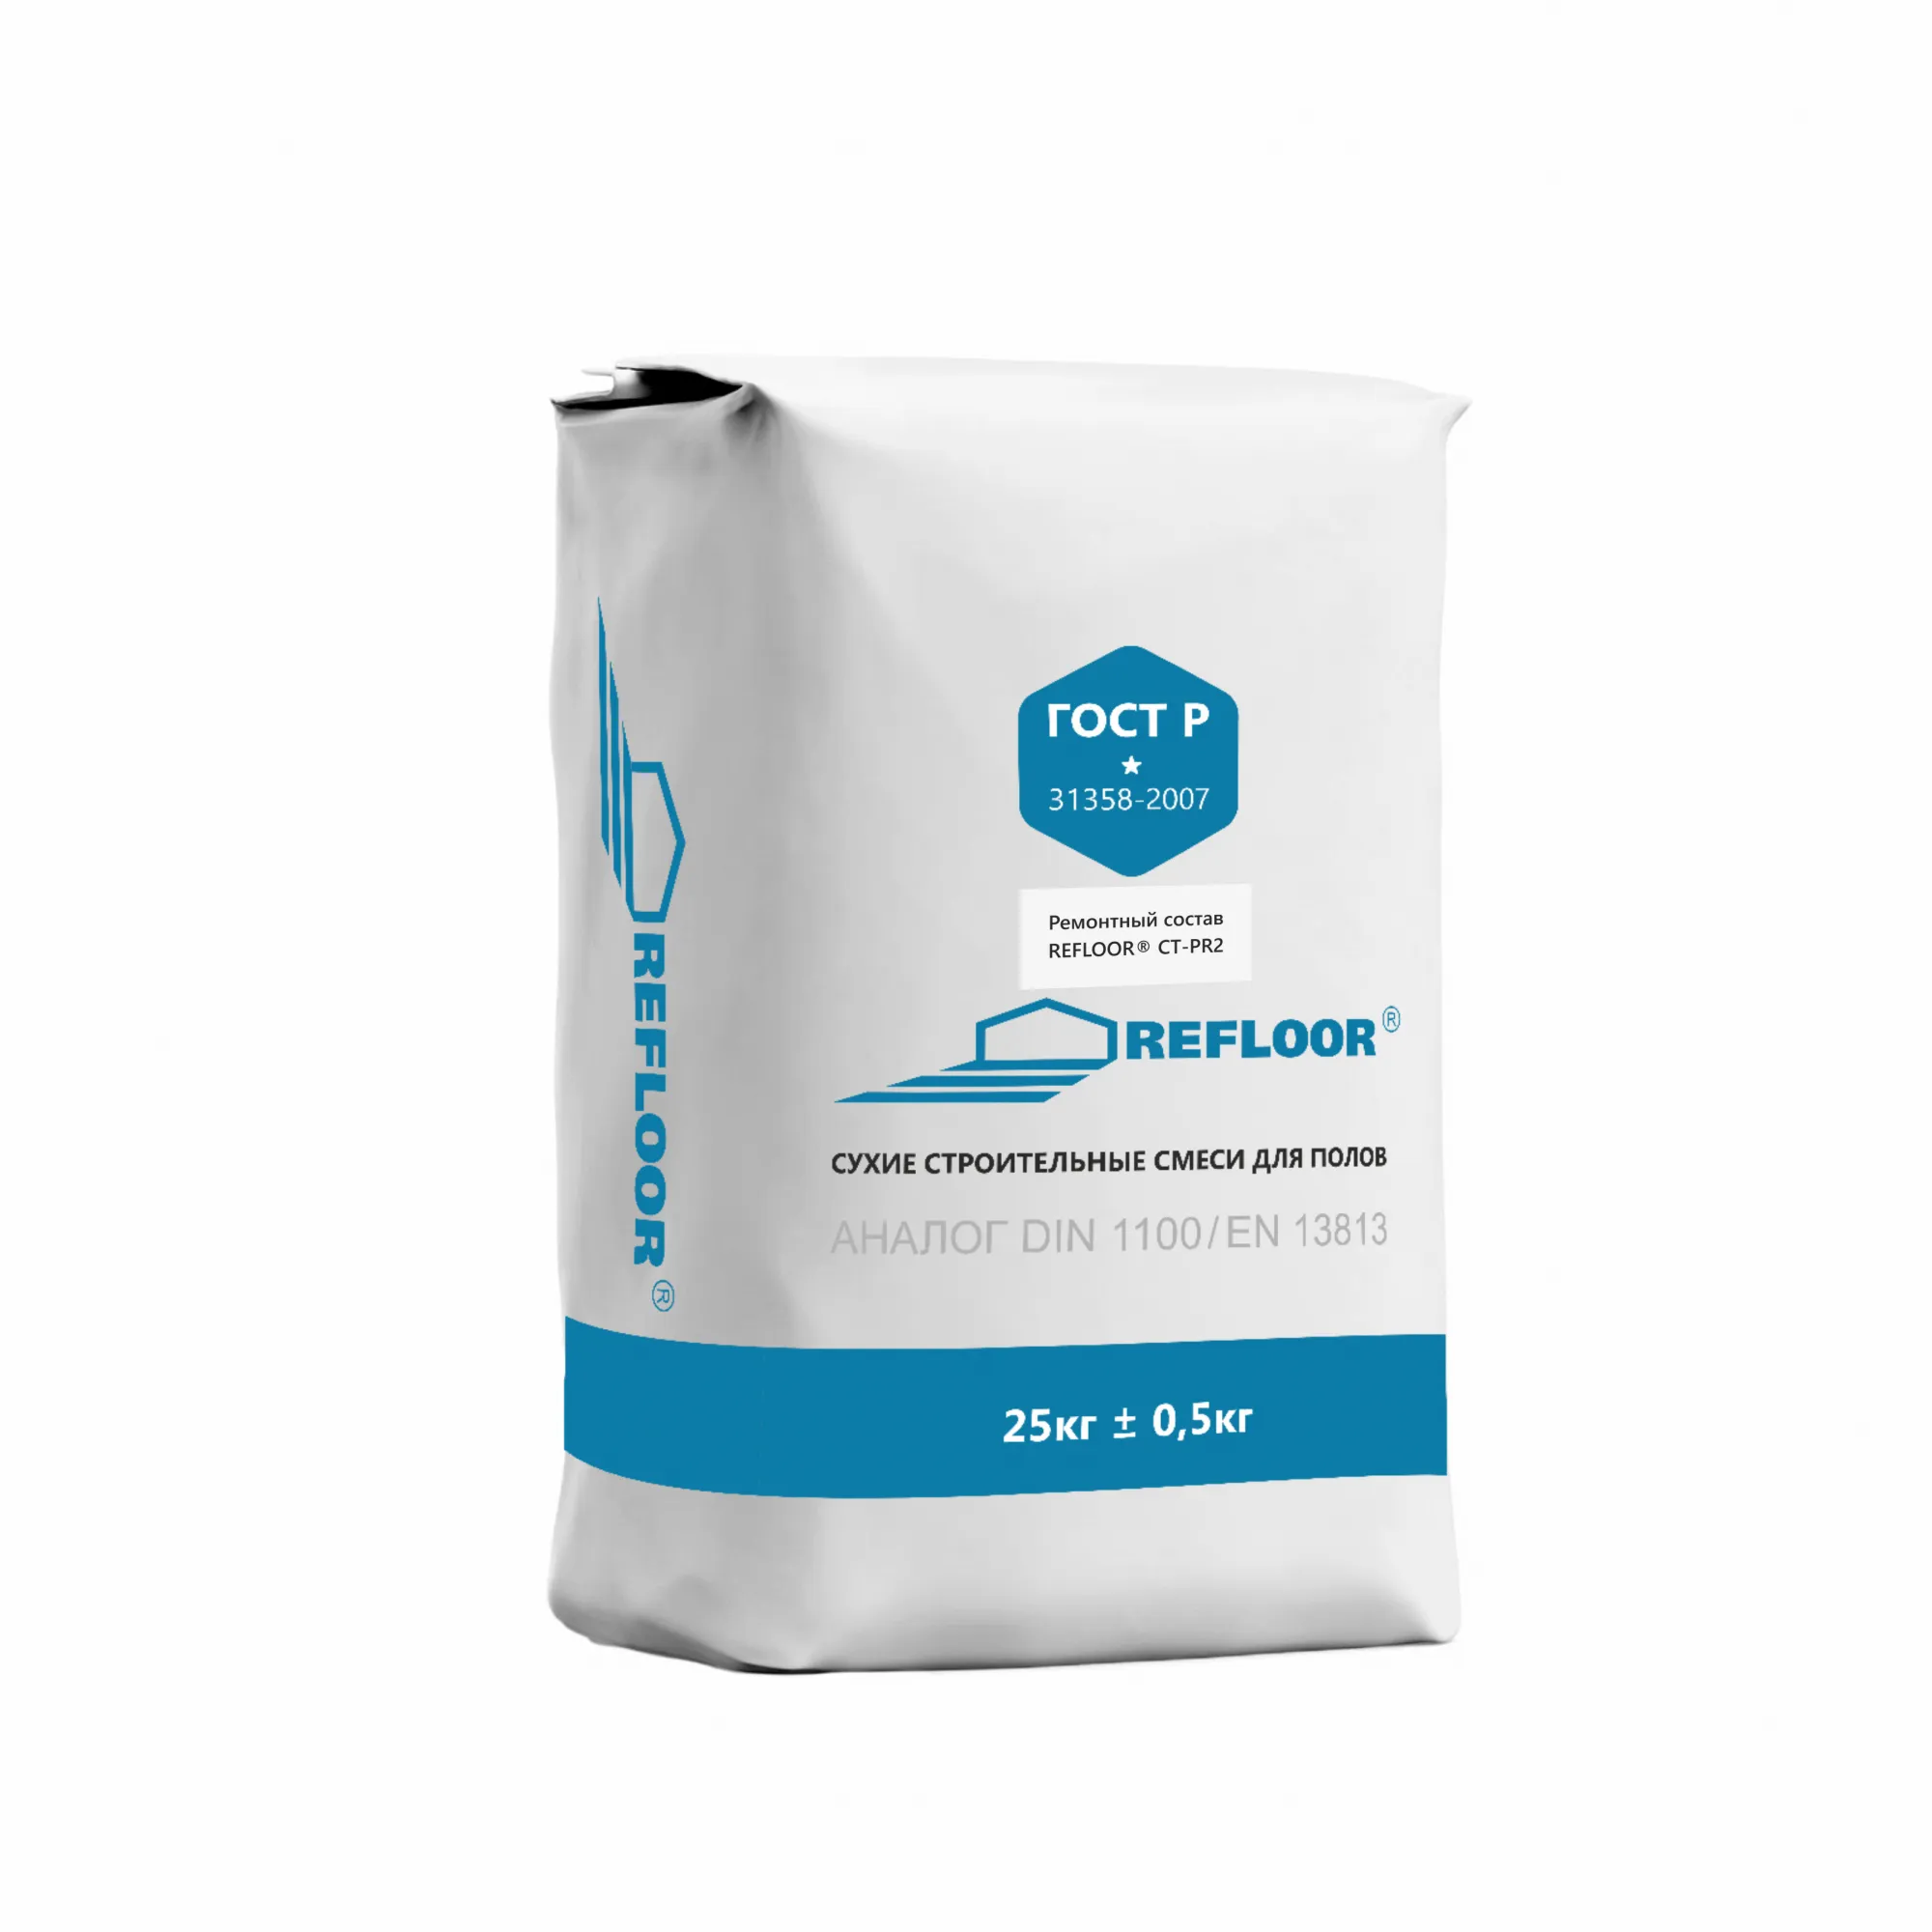
Cement-based repair mortar for concrete restoration.
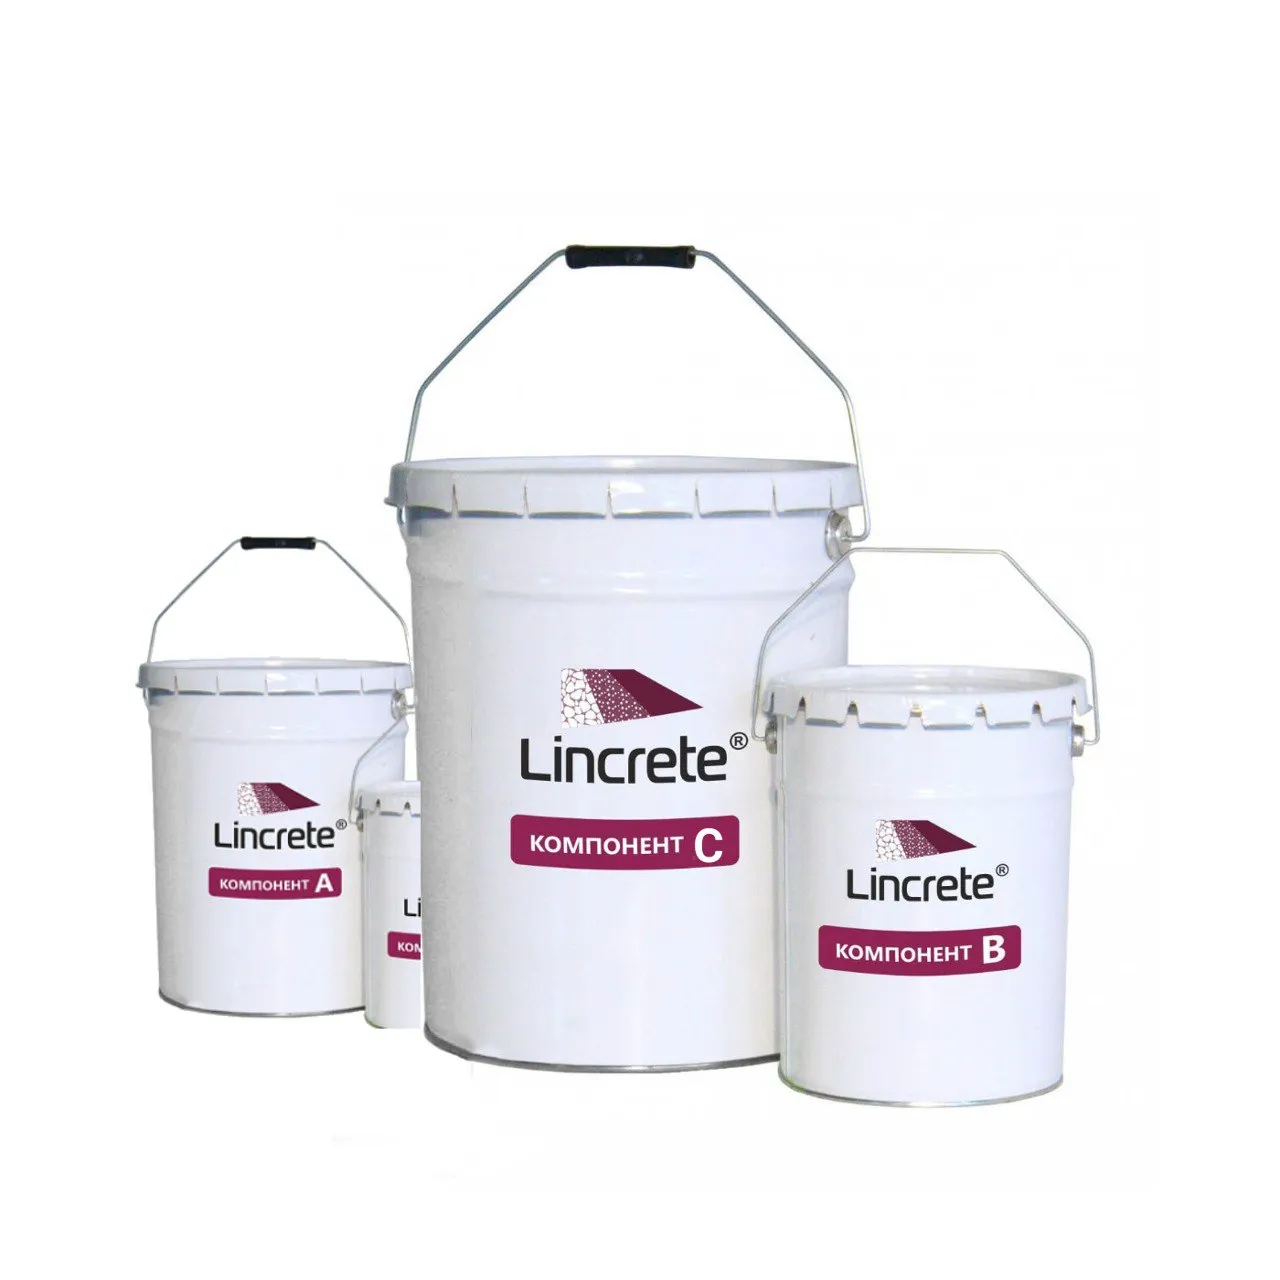
Fast PU-cement repair to minimize downtime.
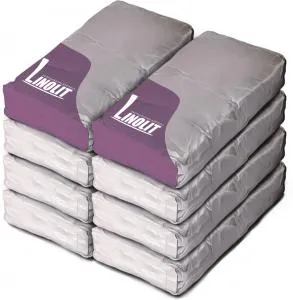
Polymer-cement repair compound, ready for further protection.
Stabilization of cracks and problem areas before applying the final system.
Joint filler — critical for equipment lanes.
Fill out the brief — we’ll propose 1–3 options and share downtime recommendations.
Fill out the brief →